More DIYs
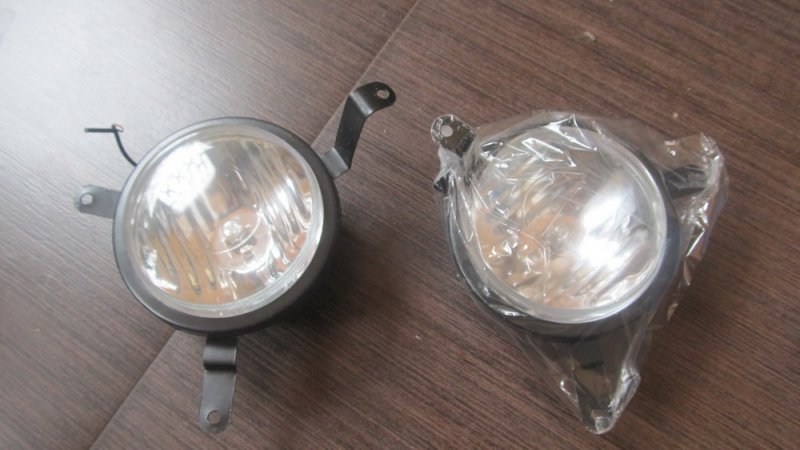
Foglamps. 700/pair, from Snapdeal.

Chrome surrounds. 450/pair, also from SNapdeal.

Metal body and H3 bulb. First pair ordered from ebay was plastic with H11 bulb, which was very much flimsy, so returned and bought this.
Chrome rings. It's plastics and quality okay.

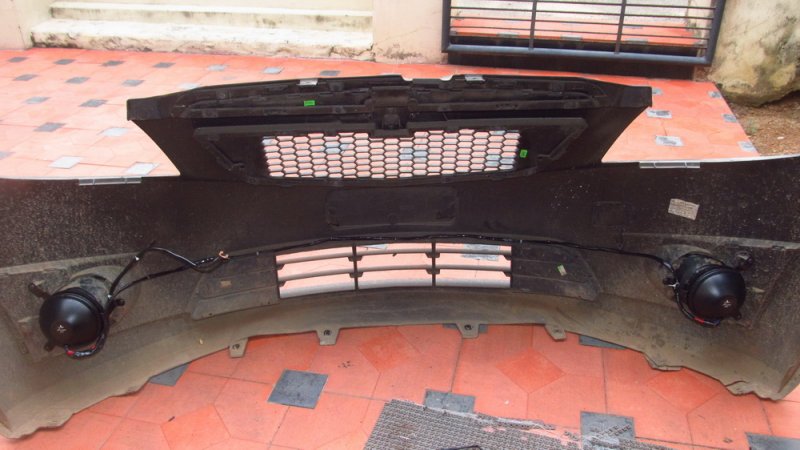
Stripped off.

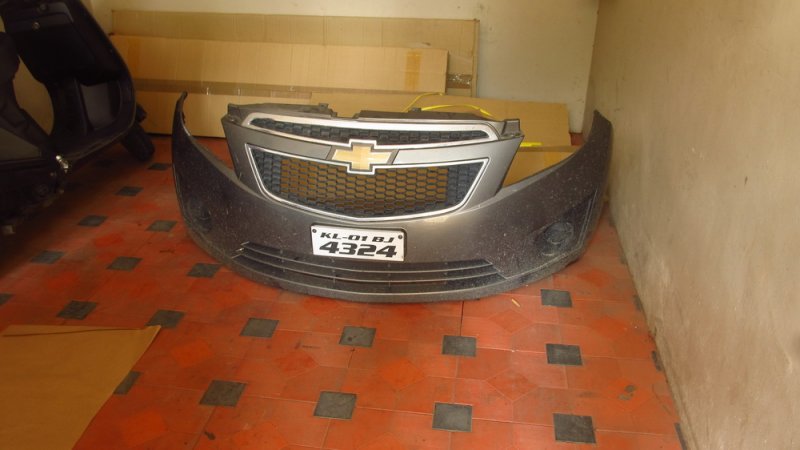
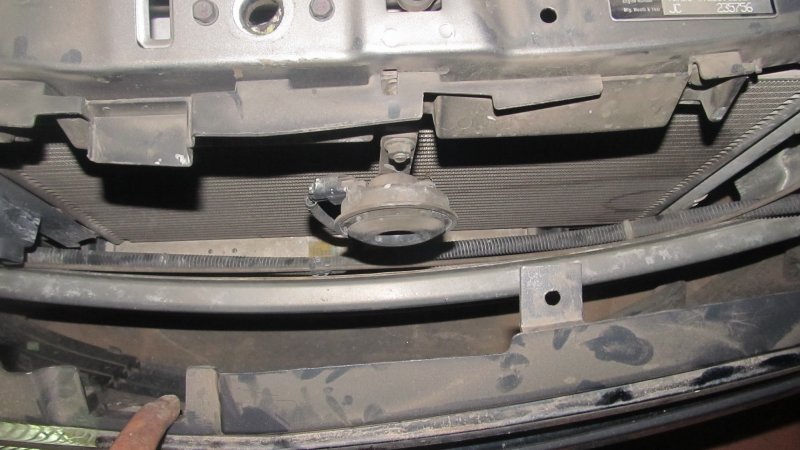
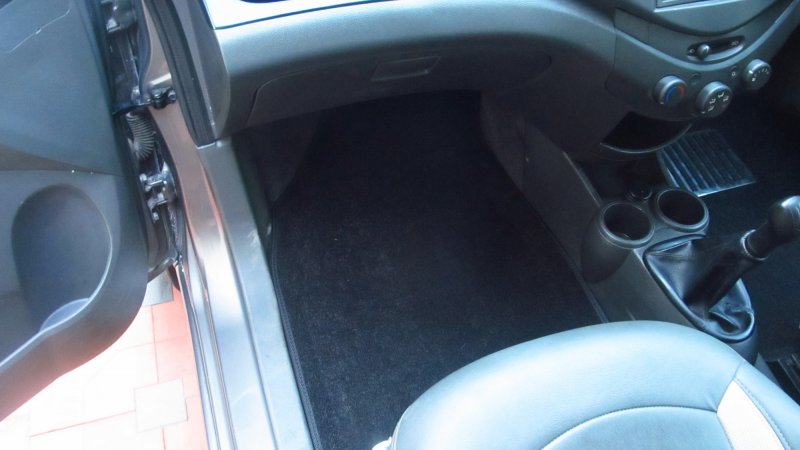
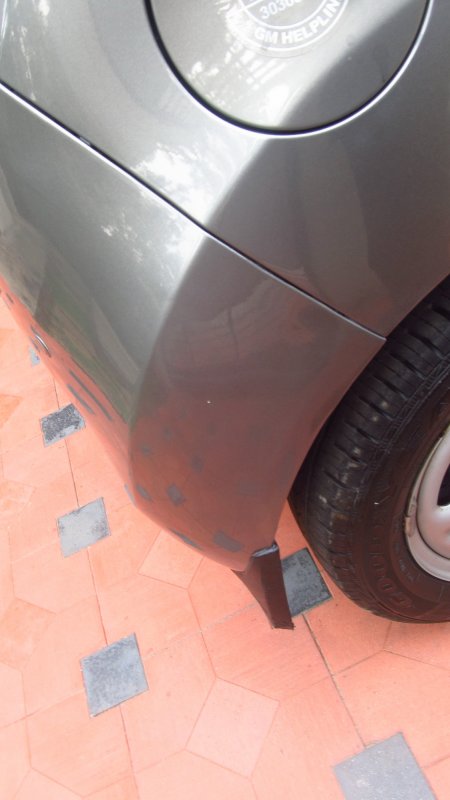
The bumper.
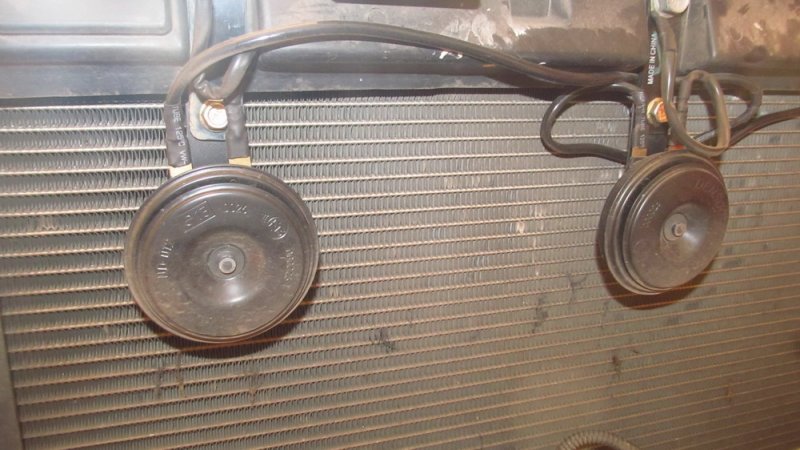
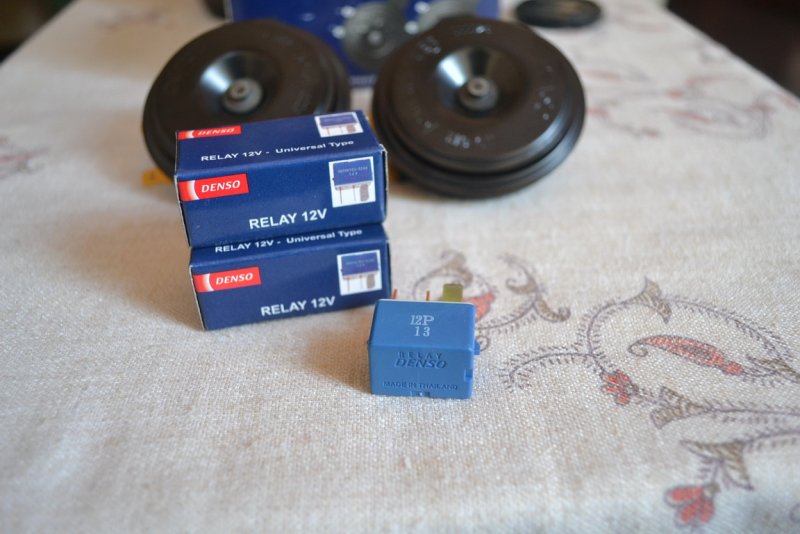
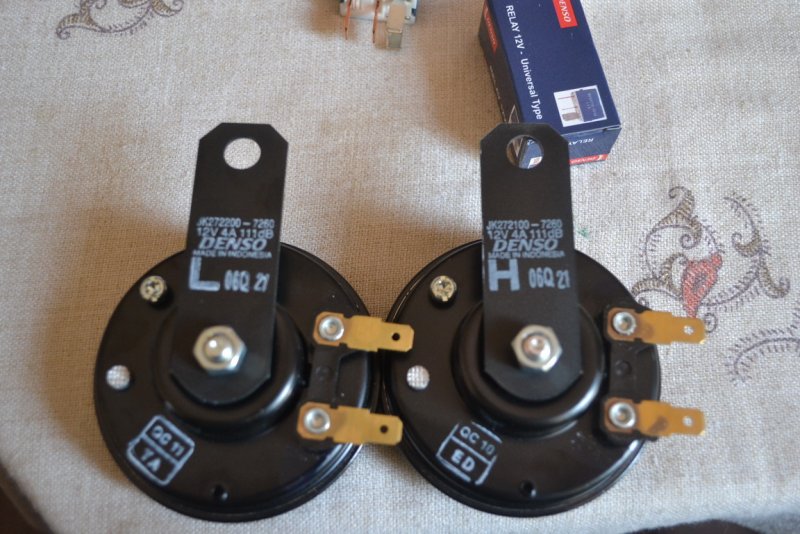
Clearer view of the horn install. No electrician would do such detailing, so always DIY
![[evil]](https://www.theautomotiveindia.com/forums/images/smilies/Evil.gif "Evil [evil]")
Fog lamp pod rear side. Fixed with 3 screws. Need additional 3 screws to mount the foglamps.

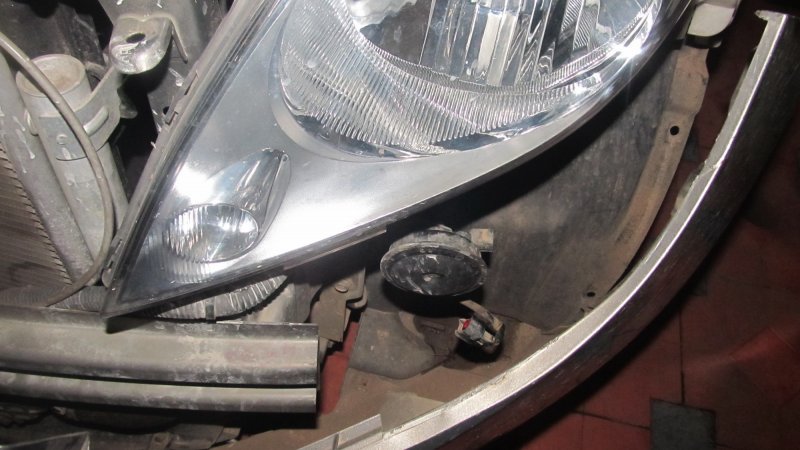
Foglamp pod, front view. Removed from bumper.

Mark and cut. Drilling is the easiest way.

Chrome surrounds installed. Came with double-sided tape of good quality, but for concerns used superglue also.

Fixed on bumper. Fix the pod from from and then foglamp from behind.

Foglamp in bumper, rearview.

Sleeved, wired and tied.
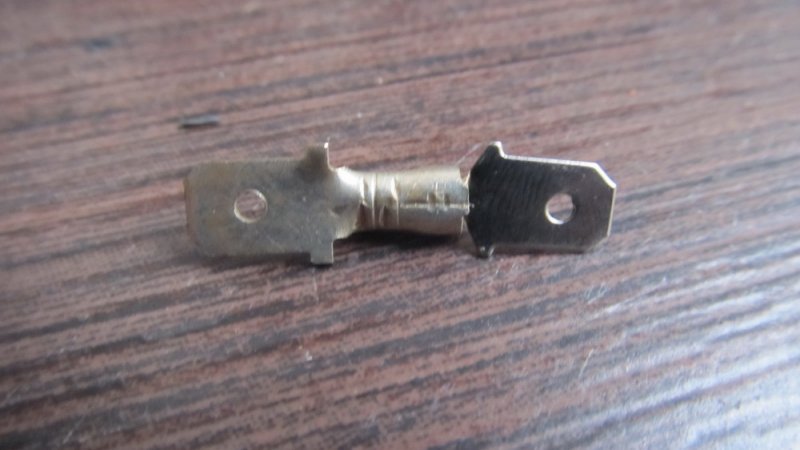
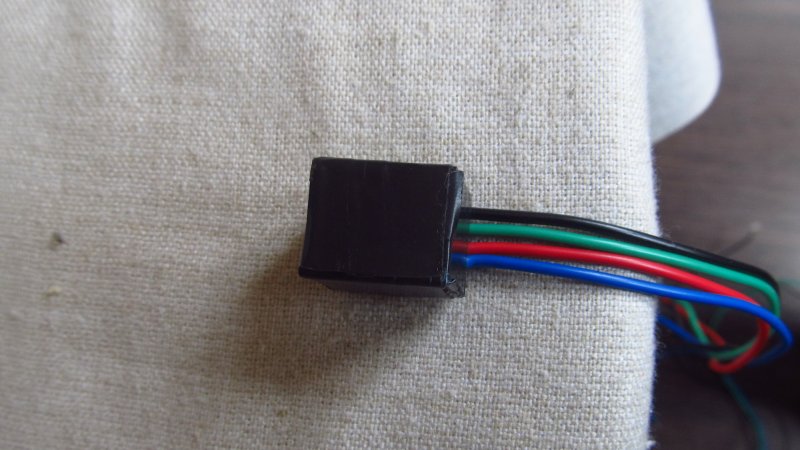
Final. Round clip for ground and Bosch clip for positive.

Oops!!! Used Bosch clips (female) at both ends. Custom female to female convertor
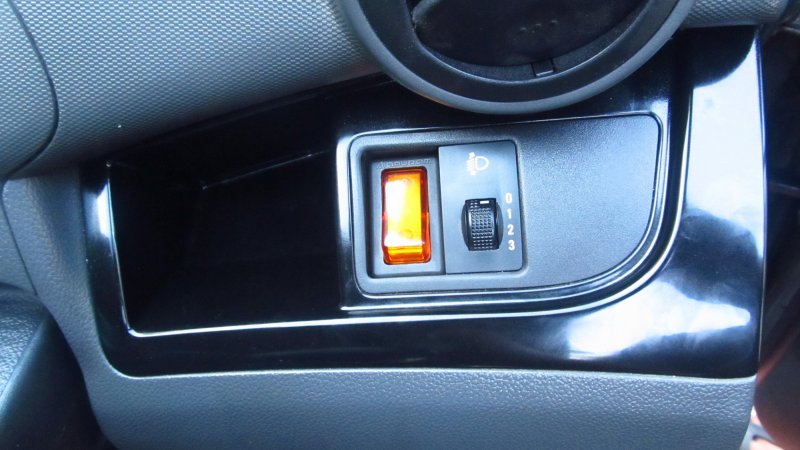
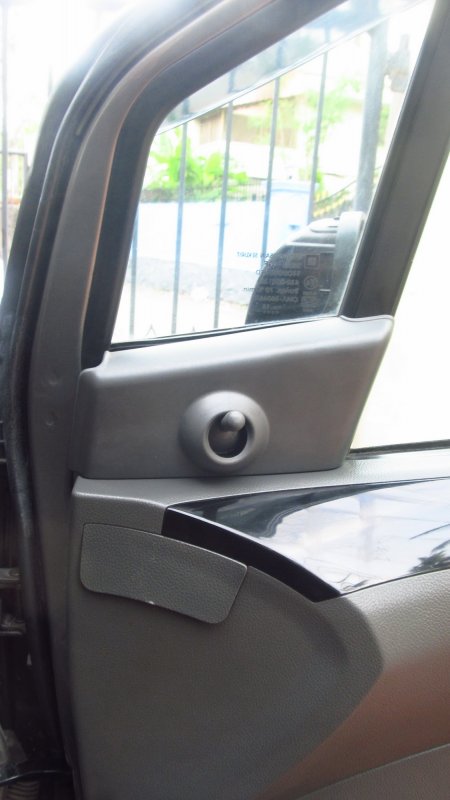
Fog lamp switch with indicator.

Always test before fixing back.
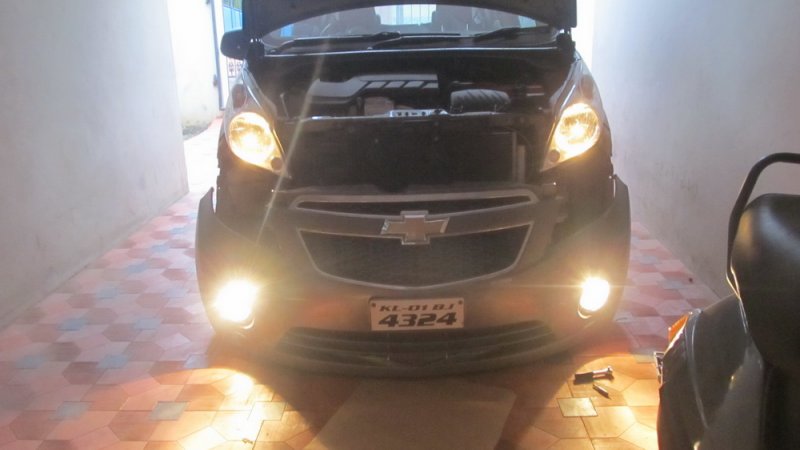
Final look after install.

Foglamp will be ON only if {park light is ON} and {ignition is ON}

Light throw in dark.

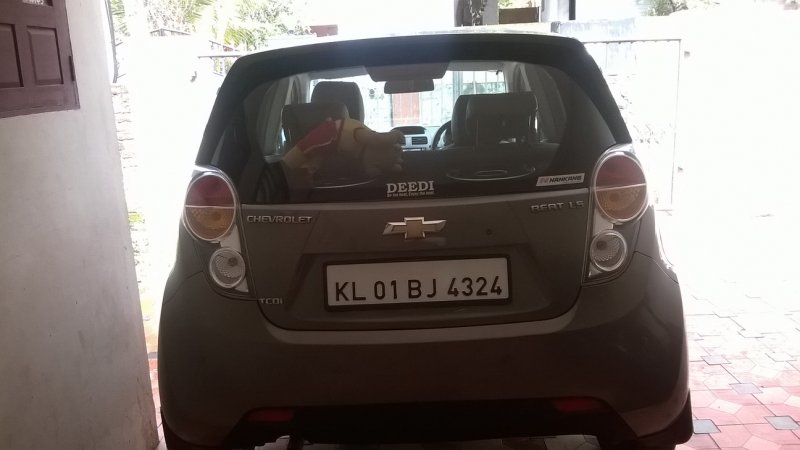
Licence plate frame. No screws required. No drilling needed. See all possible screw locations. 250/piece.

Installed at rear.

Speedex-style plates with frame. Front.

Rear.
Late discovery. There was low fuel indicator, which glowed for the first time in all this 1.5 year.

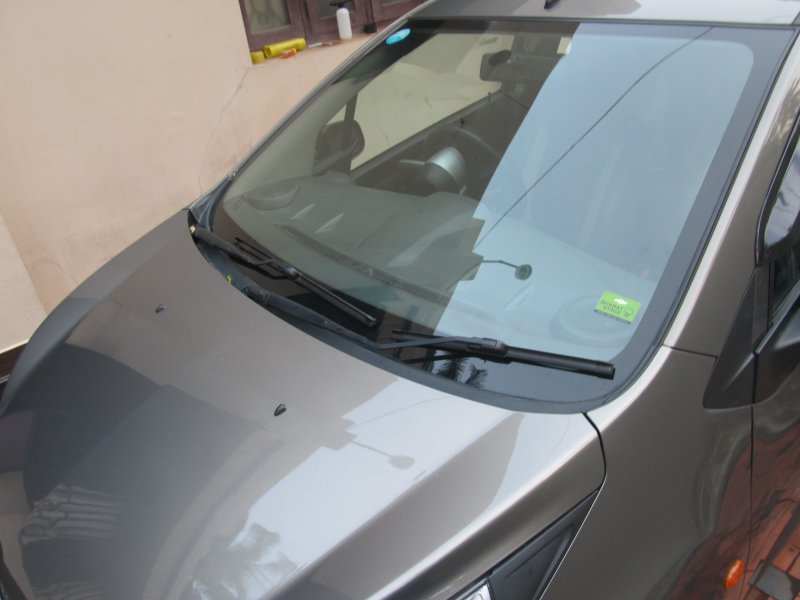
SVC sprayed some glass cleaner, water is now beading and flowing sown freely. Easier to wipe now.


![[lol]](https://www.theautomotiveindia.com/forums/images/smilies/Laugh.gif "Laugh [lol]")