My Red Highway King: Mahindra XUV500 W8 Ownership Review


Thread Starter #256

mayankdixit

Honoured Member
Joined
May 16, 2014
Messages
1,891
Likes
3,371
Location
kanpur
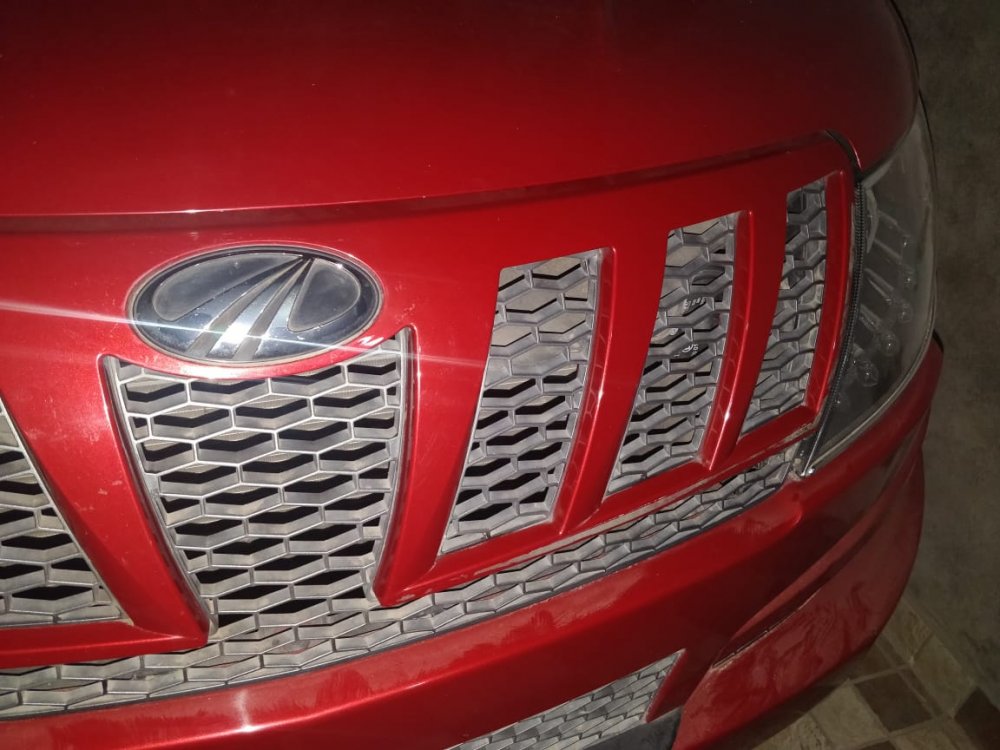
I was bored and sick of all the chrome ,so did little dechromization(if there is such a word).
It was very difficult at first.The chrome was sticking all right for 7 years! Used a lot of WD40 and spirit and microfibre cloth to remove the glue.I feel better now.


IMG-20191017-WA0024.jpg
IMG-20191017-WA0023.jpg
IMG-20191017-WA0022.jpg
IMG-20191017-WA0021.jpg
IMG-20191017-WA0019.jpg
IMG-20191017-WA0016.jpg
IMG-20191017-WA0020.jpg


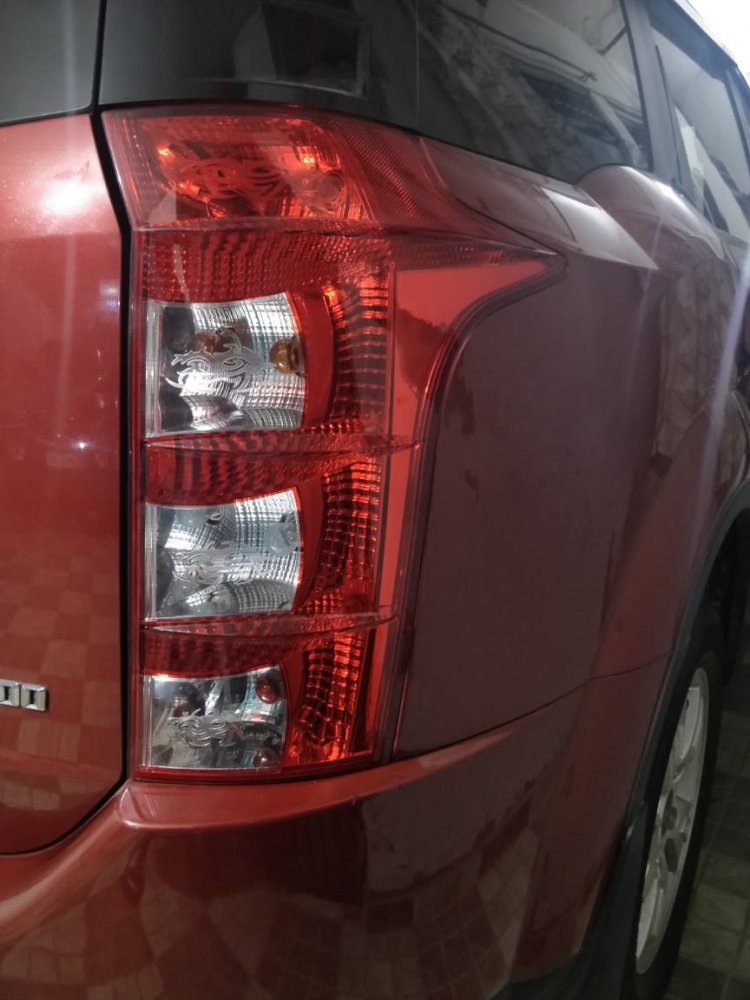
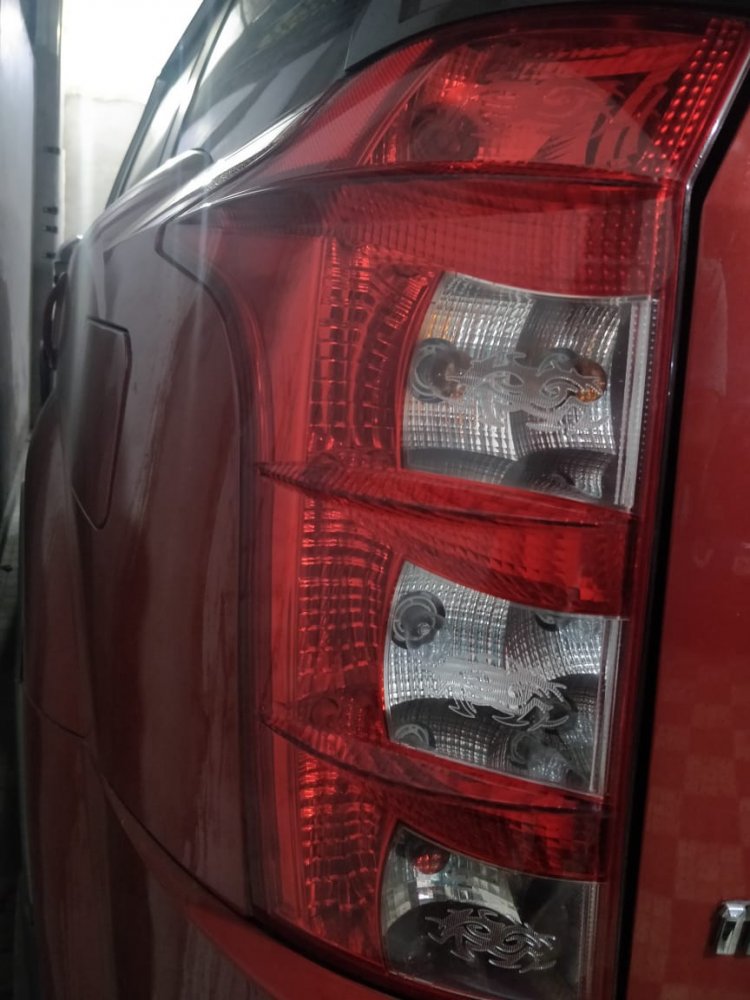
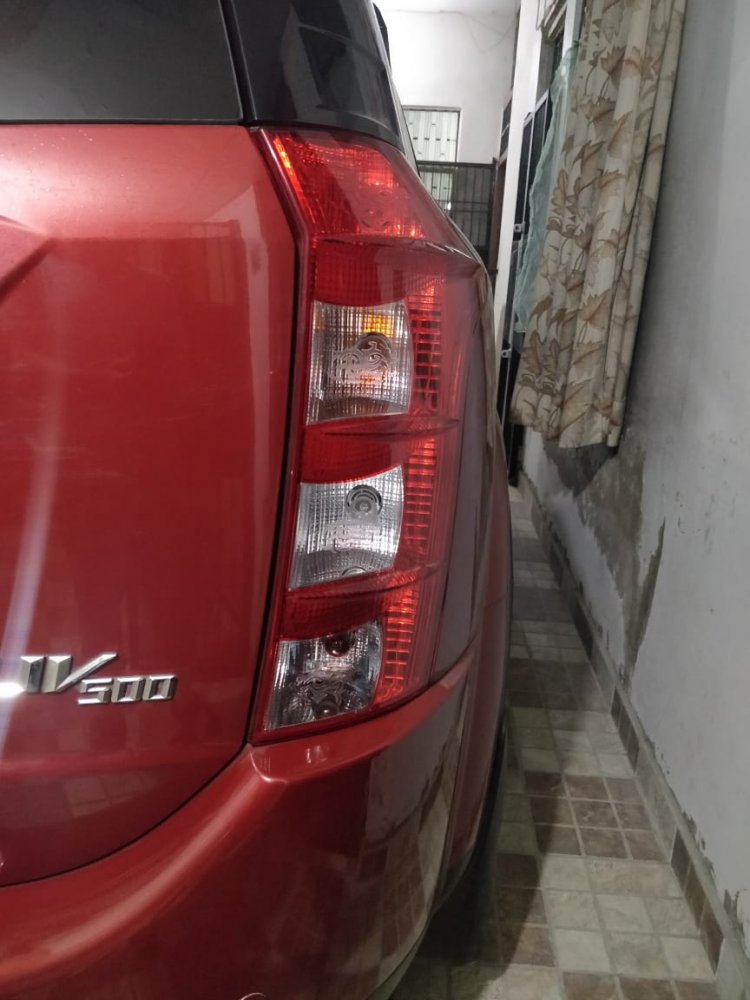
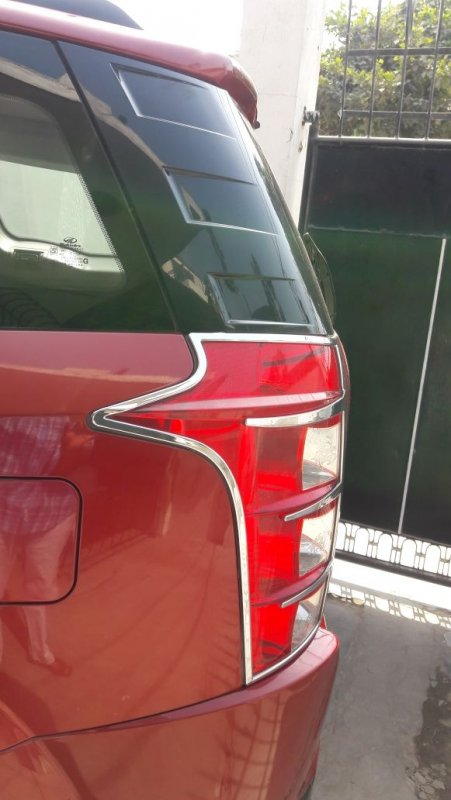
Looked like this before.
1571334218098.png


1571334448189.png


1571334561459.png


1571334586361.png


1571334840265.png
 
Last edited:
Thread Starter #258

mayankdixit

Honoured Member
Joined
May 16, 2014
Messages
1,891
Likes
3,371
Location
kanpur
Dechromification continued:
Target is Tailgate chrome garnish.


I cant believe Nexon is in the reflection
IMG-20191028-WA0012.jpg


IMG-20191028-WA0011.jpg


There was lots of mud and grime collected here.
IMG-20191028-WA0010.jpg


IMG-20191028-WA0017.jpg


must say that the original mahindra chrome accessory was of very good quality. Never faded or tarnished in 7 years.
IMG-20191028-WA0015.jpg


again Nexon in the reflection
IMG-20191028-WA0016.jpg


this is the muck I was talking about
IMG-20191028-WA0013.jpg


IMG-20191028-WA0009.jpg


final result
IMG-20191028-WA0014.jpg
 
Last edited:
Thread Starter #259

mayankdixit

Honoured Member
Joined
May 16, 2014
Messages
1,891
Likes
3,371
Location
kanpur
Diwali Holiday for 2 full days. Time to kill. Time to change engine oil + oil filter of my XUV. I needed couple of hours at the most.
This time I had no worry about taking pictured as my son Dhruv was ready to help me out in that department. I was more than obliged,as I had ruined my phone many times in the past what with all the oil and grime.


IMG-20191029-WA0045.jpg
IMG-20191029-WA0047.jpg
IMG-20191029-WA0043.jpg
IMG-20191029-WA0046.jpg
IMG-20191029-WA0051.jpg
IMG-20191029-WA0049.jpg
IMG-20191029-WA0048.jpg
IMG-20191029-WA0050.jpg
IMG-20191029-WA0053.jpg
IMG-20191029-WA0052.jpg
IMG-20191029-WA0055.jpg
IMG-20191029-WA0062.jpg
IMG-20191029-WA0044.jpg
IMG-20191029-WA0061.jpg
IMG-20191029-WA0064.jpg
IMG-20191029-WA0068.jpg
IMG-20191029-WA0067.jpg
IMG-20191029-WA0059.jpg
IMG-20191029-WA0076.jpg
IMG-20191029-WA0077.jpg
IMG-20191029-WA0073.jpg
IMG-20191029-WA0067.jpg
IMG-20191029-WA0069.jpg
IMG-20191029-WA0070.jpg
IMG-20191029-WA0066.jpg
IMG-20191029-WA0070.jpg
IMG-20191029-WA0075.jpg
IMG-20191029-WA0071.jpg
 
Last edited:
Thread Starter #260

mayankdixit

Honoured Member
Joined
May 16, 2014
Messages
1,891
Likes
3,371
Location
kanpur
Oil change pictures continued:

The copper crush washer was damaged and destroyed,so changed it.
IMG-20191030-WA0052.jpg

IMG-20191030-WA0055.jpg


Bench Vise came in handy while taking out the crushed washer.This vise is too powerful for such a small job,so had to take care not to damage the bolt itself.
IMG-20191030-WA0064.jpg


After the Nexon oil leak episode ,made a separate surplus collection of washers
IMG-20191030-WA0065.jpg


oil filling about to be started.This fin like radiator thing is the intercooler.
IMG-20191030-WA0062.jpg


this is the stuck copper washer.Nothing I did help to loosen it.Till I used the vise.
IMG-20191030-WA0059.jpg


Fresh golden oil poured. New life new blood.Soft engine sound.
IMG-20191030-WA0060.jpg


Bench vise in action
IMG-20191030-WA0061.jpg
IMG-20191030-WA0058.jpg


5 and a half litre came out.
IMG-20191030-WA0056.jpg


6 litres went in.Some more pictures of the work .
IMG-20191030-WA0057.jpg
IMG-20191030-WA0054.jpg
IMG-20191030-WA0053.jpg
IMG-20191030-WA0049.jpg
IMG-20191030-WA0059.jpg
IMG-20191030-WA0063.jpg


the damaged washer
IMG-20191030-WA0048.jpg


this white plastic can was difficult to clean after this DIY
IMG-20191030-WA0056.jpg
 
Last edited:
Thread Starter #261

mayankdixit

Honoured Member
Joined
May 16, 2014
Messages
1,891
Likes
3,371
Location
kanpur
Oil change pictures continued:


Old and new oil filter
IMG-20191101-WA0038.jpg
IMG-20191101-WA0037.jpg


now the oil comes in double lock packing so that container cannot be tampered with.
IMG-20191101-WA0041.jpg
IMG-20191101-WA0040.jpg


magnetic drain plug
IMG-20191101-WA0049.jpg


look at the red oil filter.Such tight packing!! How am I supposed to reach it with my hands,through all these obstructions!
IMG-20191101-WA0050.jpg


closeup of the stuck washer
IMG-20191101-WA0047.jpg


me underneath the hot engine about to drain the oil
IMG-20191101-WA0046.jpg


the mucky used oil
IMG-20191101-WA0044.jpg


always apply a thin layer of oil on the gasket prior to use
IMG-20191101-WA0034.jpg
IMG-20191101-WA0031.jpg
IMG-20191101-WA0042.jpg
IMG-20191101-WA0046.jpg


funnel used to pour oil
IMG-20191030-WA0058.jpg
IMG-20191101-WA0074.jpg
IMG-20191101-WA0077.jpg
IMG-20191101-WA0075.jpg
IMG-20191101-WA0080.jpg
IMG-20191101-WA0079.jpg
IMG-20191101-WA0082.jpg
IMG-20191101-WA0074.jpg
IMG-20191101-WA0077.jpg
IMG-20191101-WA0083.jpg
IMG-20191101-WA0081.jpg
 
Last edited:
Thread Starter #262

mayankdixit

Honoured Member
Joined
May 16, 2014
Messages
1,891
Likes
3,371
Location
kanpur
Oil change pictures continued :


Before completing the DIY,and installing the engine cover ,tried to clean it first.

IMG-20191102-WA0014.jpg
IMG-20191102-WA0011.jpg
IMG-20191102-WA0012.jpg


This was not coming out with even detergent so used a little bit of dish cleaner from the kitchen.This worked
IMG-20191102-WA0013.jpg


after little bit of cleaning
IMG-20191102-WA0009.jpg


before the cleaning
IMG-20191102-WA0010.jpg
IMG-20191102-WA0007.jpg
IMG-20191102-WA0005.jpg


this is the final cleaning of plastic
IMG-20191102-WA0006.jpg
IMG-20191102-WA0001.jpg


In all honesty,Yes we really do!
IMG-20191102-WA0003.jpg
IMG-20191102-WA0008.jpg
IMG-20191102-WA0002.jpg


This has been there for quite some time.Even folks at the ASS were surprised,and amused when they saw it.
IMG-20191102-WA0004.jpg


this is the filter removal tool I procured from the local tool market,quite handy.
IMG-20191101-WA0073.jpg
 
Last edited:
Joined
Oct 9, 2012
Messages
1,888
Likes
2,180
Location
Riyadh/Kanpur
Oil change pictures continued :


Before completing the DIY,and installing the engine cover ,tried to clean it first.

View attachment 265758 View attachment 265759 View attachment 265760


This was not coming out with even detergent so used a little bit of dish cleaner from the kitchen.This worked
View attachment 265761


after little bit of cleaning
View attachment 265762


before the cleaning
View attachment 265763 View attachment 265764 View attachment 265765


this is the final cleaning of plastic
View attachment 265766 View attachment 265767


In all honesty,Yes we really do!
View attachment 265768 View attachment 265769 View attachment 265770


This has been there for quite some time.Even folks at the ASS were surprised,and amused when they saw it.
View attachment 265771


this is the filter removal tool I procured from the local tool market,quite handy.
View attachment 265772
This personal inscription on an indian car is a first for me, who could have been so innovative? The ancillary unit who made this engine cover, or the assembly line at the MM plant? Interesting.
Tweet this to Anand Mahindra and see his reaction.
Very neat job Doc, I'm a fan, keep it up
 
Thread Starter #264

mayankdixit

Honoured Member
Joined
May 16, 2014
Messages
1,891
Likes
3,371
Location
kanpur
On driving now there is rattling noise from the engine area. I have been narrowing down the noise to the engine plastic cover. Whenever I hold down the cover with my hands the noise reduces, and on relieving the pressure it increases with increasing rpm.
I have a feeling that the bushes are worn out. Let's do the diagnosis further. These bushes may have become hard or maybe the rubber is loose.
 
Joined
Oct 9, 2012
Messages
1,888
Likes
2,180
Location
Riyadh/Kanpur
On driving now there is rattling noise from the engine area. I have been narrowing down the noise to the engine plastic cover. Whenever I hold down the cover with my hands the noise reduces, and on relieving the pressure it increases with increasing rpm.
I have a feeling that the bushes are worn out. Let's do the diagnosis further. These bushes may have become hard or maybe the rubber is loose.
It would most probably be a screw holding the plastic cover.
I had a rattling sound in my Nexon when it went over broken roads, the plastic screw holding a plastic shroud under the engine bay had given way. Fixed when the new screw was installed.
 
Thread Starter #266

mayankdixit

Honoured Member
Joined
May 16, 2014
Messages
1,891
Likes
3,371
Location
kanpur
Yes you might be correct. I will do the full and accurate diagnosis in proper sunlight,tomorrow. I really hope its a minor issue and nothing serious.
As is obvious, I have recently done the oil change all by myself and the last thing I want to see is that noise is because I have messed up something during the DIY, and then all blame will be falling on me!
 
Last edited:

bhvm

Honoured Member
Joined
Oct 15, 2011
Messages
5,289
Likes
4,818
Location
Some Village
I have been narrowing down the noise to the engine plastic cover. Whenever I hold down the cover with my hands the noise reduces, and on relieving the pressure it increases with increasing rpm.
I had these rubber bushings for cover replaced at 1L service. Your initial diag seems to be correct.
 
Thread Starter #268

mayankdixit

Honoured Member
Joined
May 16, 2014
Messages
1,891
Likes
3,371
Location
kanpur
On driving now there is rattling noise from the engine area. I have been narrowing down the noise to the engine plastic cover. Whenever I hold down the cover with my hands the noise reduces, and on relieving the pressure it increases with increasing rpm.
I have a feeling that the bushes are worn out. Let's do the diagnosis further. These bushes may have become hard or maybe the rubber is loose.
Yes, the engine plastic cover was the culprit. These bushes were totally cracked and shredded. These bushes are not costly at all. But they are very difficult to procure. Nowhere in the local market nor at the retailer could I procure a complete set. ASS asked to bring the car and put it up in demand.
Meanwhile All night I was repeatedly checking the steps of oil change,in case I have done something wrongly in my DIY . Guilty mind you see.


On changing these bushes the sound simply disappeared. I am relieved,more so because the DIY had nothing to do with it!! And I can continue on with my routine work.
IMG-20191106-WA0063.jpg


IMG-20191106-WA0061.jpg


IMG-20191106-WA0062.jpg


IMG-20191106-WA0059.jpg


IMG-20191106-WA0060.jpg


IMG-20191106-WA0058.jpg


IMG-20191106-WA0057.jpg


IMG-20191106-WA0083.jpg


IMG-20191106-WA0082.jpg


IMG-20191106-WA0078.jpg


IMG-20191106-WA0075.jpg


IMG-20191106-WA0076.jpg
 
Last edited:
Thread Starter #269

mayankdixit

Honoured Member
Joined
May 16, 2014
Messages
1,891
Likes
3,371
Location
kanpur
It would most probably be a screw holding the plastic cover.
I had a rattling sound in my Nexon when it went over broken roads, the plastic screw holding a plastic shroud under the engine bay had given way. Fixed when the new screw was installed.
Thanks for chipping in. In Nexon there are plastic touch buttons to support the housing and linings. There is no such thing in XUV. It's having bolts allover. But your advice I followed,and looked over that area. Thankfully the problem area was limited to the bushes under the engine cover, as displayed in the previous post.
 
Last edited:
Joined
Oct 9, 2012
Messages
1,888
Likes
2,180
Location
Riyadh/Kanpur
Yes, the engine plastic cover was the culprit. These bushes were totally cracked and shredded. These bushes are not costly at all. But they are very difficult to procure. Nowhere in the local market nor at the retailer could I procure a complete set. ASS asked to bring the car and put it up in demand.
Meanwhile All night I was repeatedly checking the steps of oil change,in case I have done something wrongly in my DIY . Guilty mind you see.


On changing these bushes the sound simply disappeared. I am relieved,more so because the DIY had nothing to do with it!! And I can continue on with my routine work.

View attachment 265961
You even pack and lable the old and discarded parts, simply impressive.
 

Top Bottom