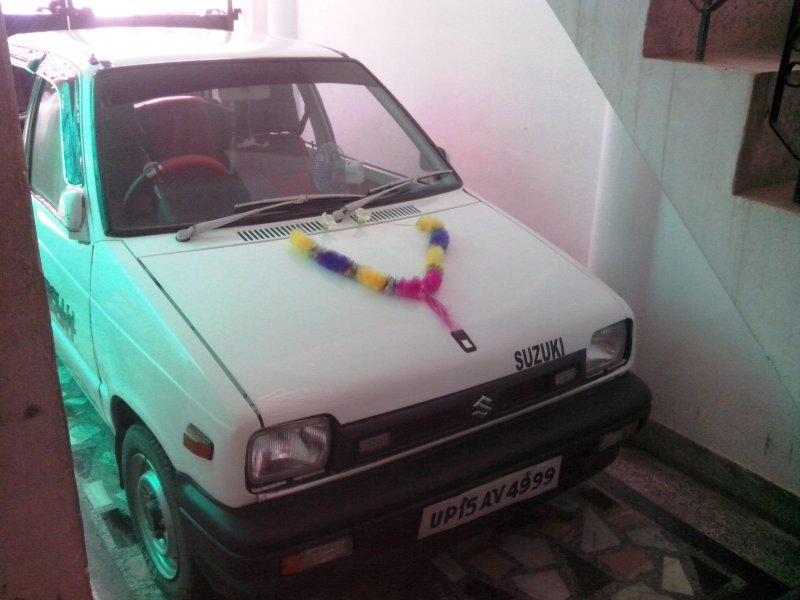
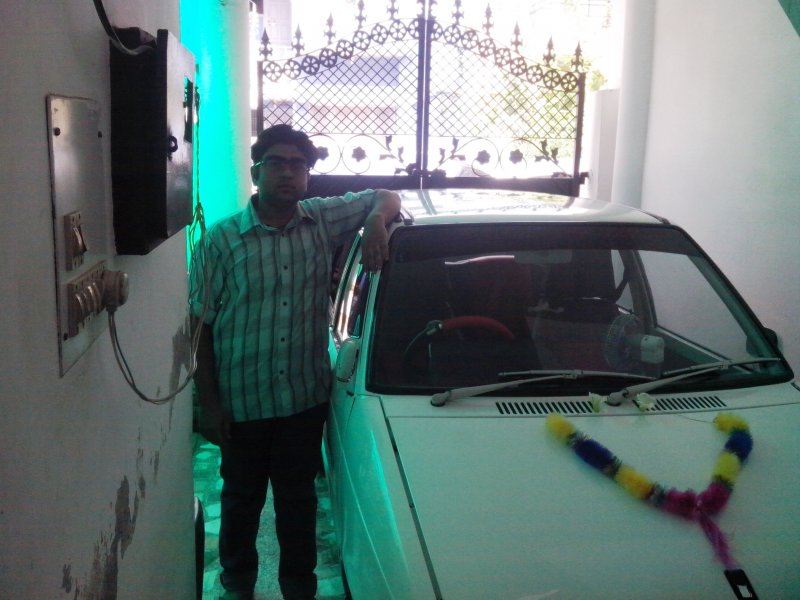
My First Car: Maruti 800 AC 93 Model


Thread Starter #406
Joined
Mar 28, 2012
Messages
582
Likes
81
Location
Lucknow
hi shantanu bhai,my cars roof cloth is cut from one place so can u tell me the cost and the place in lko where i could get it done
@ Vaibhav Go to Shyam Auto Agency or any shop in the complex opposite fire station in Lalbagh. Roof cloth is available for Rs 150. Glue for Rs 50. If you want a used type 2 roof, then search the local scrapers in moongphali mandi or Kanpur Road.


Today's Update. Dedicated the day 11/12/13 to my car.
Replaced the rear dampers, engine oil and the rear bearings. Cleaned the plugs and air filter.
1. Monroe brand dampers for Rs 550/pair
2. Servo 20W40 oil for Rs 730
3. Oil Filter Purolator for Rs 60
4. Rear Wheel bearings 4 nos for Rs 450
5. HP Grease for Rs 50

Result: Smooth running engine and no grunt or harsh engine sound. Pick-up increased too. No khat-khat noise from the rear and better ride quality.

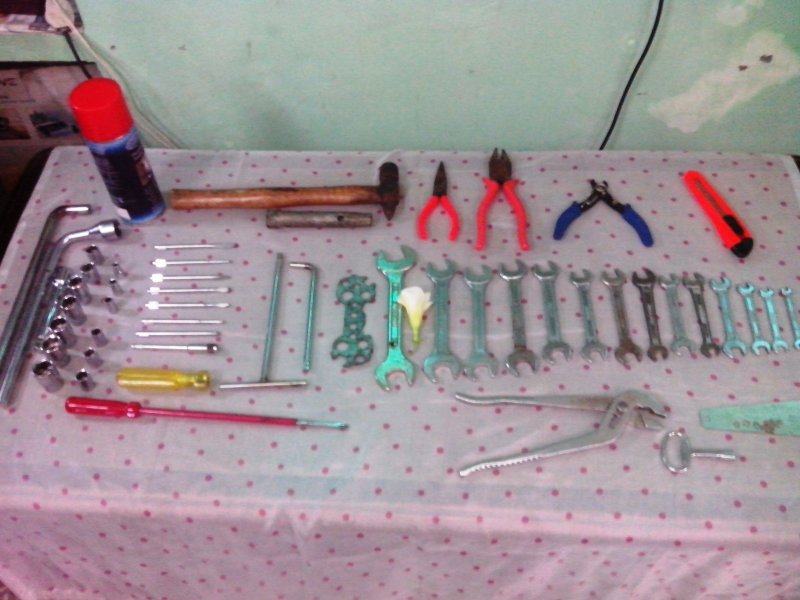
There are very less pics as it was a DIY. A bolt holding the damper was stuck and made the job hell. At last it was cut using a hacksaw blade. Pics will be updated tomorrow.
 
Joined
Jun 26, 2013
Messages
34
Likes
3
Location
lucknow
@ Vaibhav Go to Shyam Auto Agency or any shop in the complex opposite fire station in Lalbagh. Roof cloth is available for Rs 150. Glue for Rs 50. If you want a used type 2 roof, then search the local scrapers in moongphali mandi or Kanpur Road.


Today's Update. Dedicated the day 11/12/13 to my car.
Replaced the rear dampers, engine oil and the rear bearings. Cleaned the plugs and air filter.
1. Monroe brand dampers for Rs 550/pair
2. Servo 20W40 oil for Rs 730
3. Oil Filter Purolator for Rs 60
4. Rear Wheel bearings 4 nos for Rs 450
5. HP Grease for Rs 50

Result: Smooth running engine and no grunt or harsh engine sound. Pick-up increased too. No khat-khat noise from the rear and better ride quality.

There are very less pics as it was a DIY. A bolt holding the damper was stuck and made the job hell. At last it was cut using a hacksaw blade. Pics will be updated tomorrow.
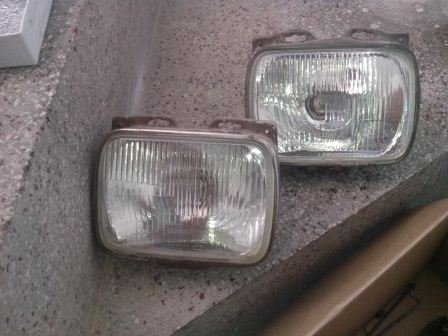
thanks shantanu bhai for the info.one prob now arise in my car in night.the light are very dim.yesterday i canged both of my headlights but still no change.can u tell me what i can do.and for foglamps my daddy is not allowing me to drill holes in bumper so where else can i mount them.its just becomming impossible for me to drive my car at night.need suggestion immedately[cry]
 
Thread Starter #409
Joined
Mar 28, 2012
Messages
582
Likes
81
Location
Lucknow
Did you replace the damper with the oil ones or the gas ones ?
I have used oil filled ones

Why dint you consider mgp..
Earlier in friend's garage we had fitted these brand shockers in customers cars and the performance was good. Price difference was also a factor

thanks shantanu bhai for the info.one prob now arise in my car in night.the light are very dim.yesterday i canged both of my headlights but still no change.can u tell me what i can do.
Check your battery for low charge. Which brand bulbs have you used now ? Check the earthing wires of the bulbs and relays
and for foglamps my daddy is not allowing me to drill holes in bumper so where else can i mount them.
Fog lamps can be fitted using clamps on the bumper, but few small holes may be drilled
its just becomming impossible for me to drive my car at night.need suggestion immedately[cry]
Start an ownership review with more details and pics
 
Thread Starter #410
Joined
Mar 28, 2012
Messages
582
Likes
81
Location
Lucknow
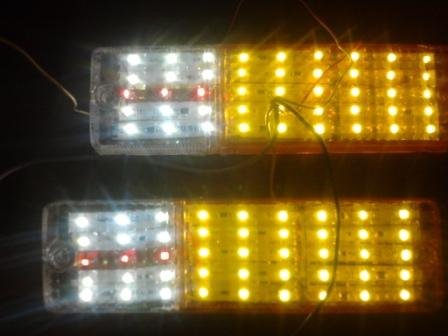
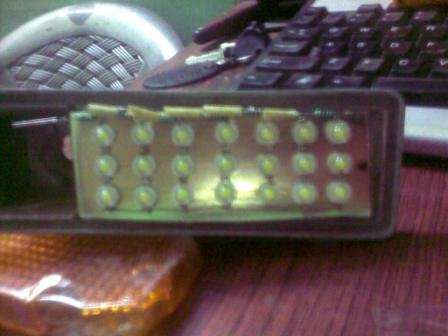
Was willing to dome DIY for my car, but due to short budget could not do some big projects. So decided to make LED driving lights. I am using these 1W LEDs for emergency light etc.
3 LEDs are connected in series with a 30 ohm resistance.

SORRY FOR POOR QUALITY PICS

Earlier the indicators and parking lights were like this
Photo1177.jpg

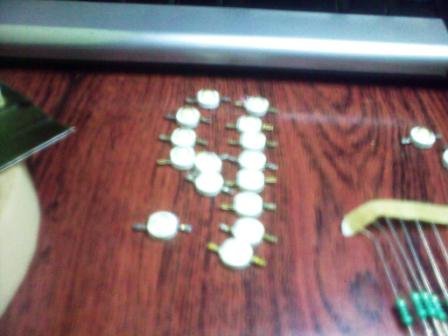
Bought 50 LEDs for Rs 100
22122013254.jpg

30 ohms resistance @ Rs 0.50 per piece
22122013253.jpg

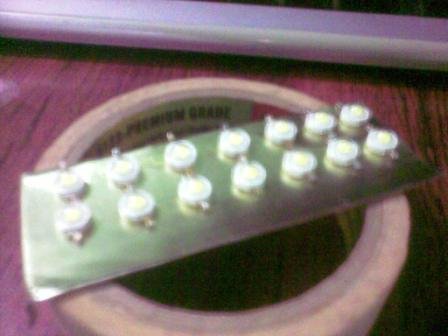
Pasted the LEDs on a aluminum strip, this will work as heat sink too
22122013255.jpg

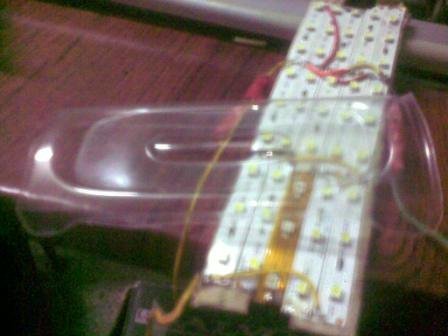
The light cover was made using a frooti bottle. The plastic quality is better
27122013260.jpg

All LEDs pasted and soldered
27122013264.jpg

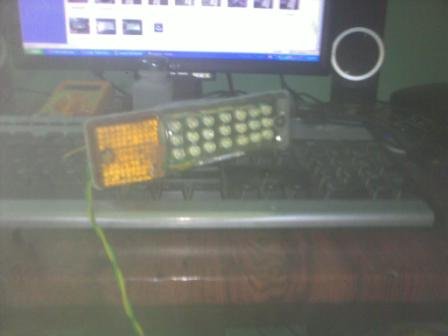
The final product
27122013267.jpg

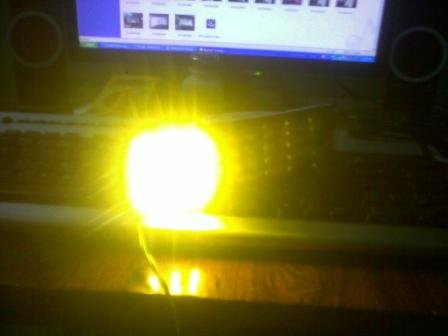
The indicator
27122013269.jpg

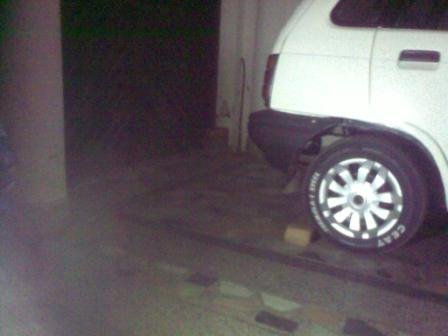
These pics are taken using only the LED lights
27122013270.jpg
27122013271.jpg
 
Last edited:
Joined
Mar 2, 2012
Messages
1,605
Likes
529
Location
Nagercoil/Kollam
Was willing to dome DIY for my car, but due to short budget could not do some big projects. So decided to make LED driving lights. I am using these 1W LEDs for emergency light etc.
3 LEDs are connected in series with a 30 ohm resistance.

SORRY FOR POOR QUALITY PICS

Earlier the indicators and parking lights were like this
View attachment 119713

Bought 50 LEDs for Rs 100
View attachment 119710

30 ohms resistance @ Rs 0.50 per piece
View attachment 119711

Pasted the LEDs on a aluminum strip, this will work as heat sink too
View attachment 119712

The light cover was made using a frooti bottle. The plastic quality is better
View attachment 119714

All LEDs pasted and soldered
View attachment 119715

The final product
View attachment 119716

The indicator
View attachment 119717

These pics are taken using only the LED lights
View attachment 119718
View attachment 119719
test and report the life of this LED after some days. it blew off soon for me due to improper heat sink
 
Thread Starter #412
Joined
Mar 28, 2012
Messages
582
Likes
81
Location
Lucknow
1st update in year 2014

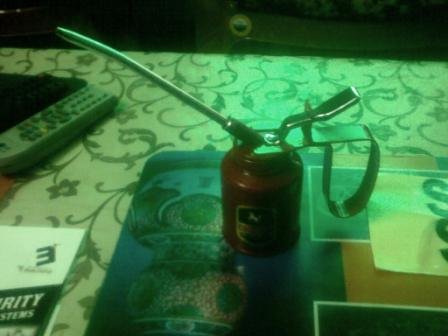
Bought an oil can for Rs 50
06012014309.jpg

And Suzuki Stickers for Rs 60
06012014308.jpg

Now thinking where to put the stickers
1 Front Doors
2 Rear Doors
3 Somewhere else ???
 
Thread Starter #413
Joined
Mar 28, 2012
Messages
582
Likes
81
Location
Lucknow
Hey friends,
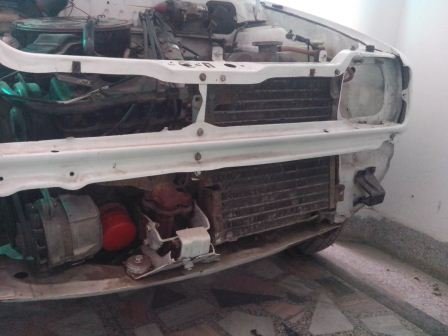
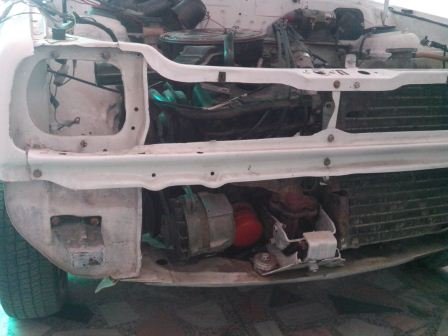
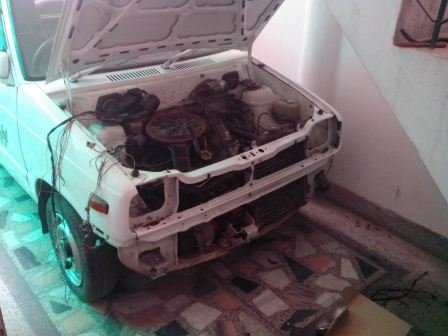
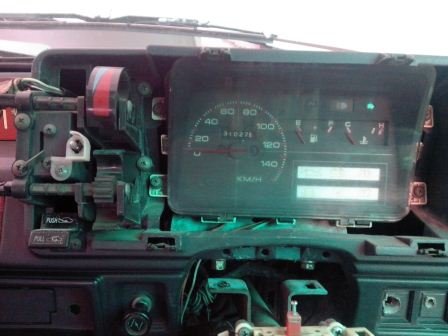
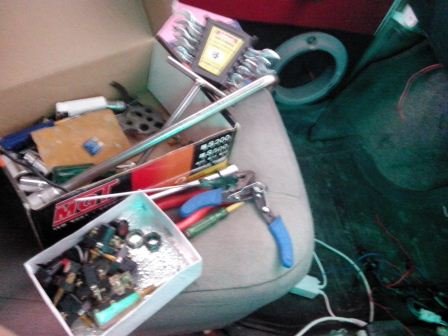
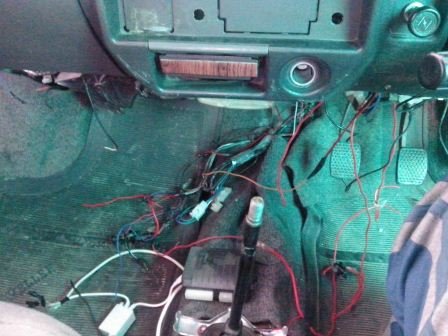
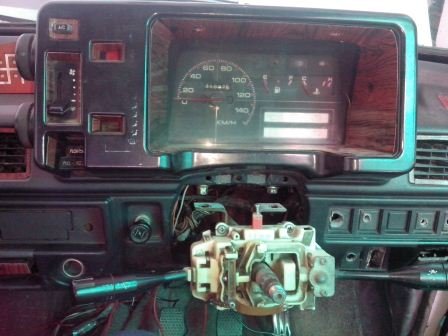
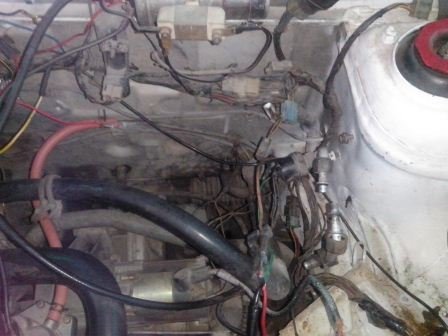
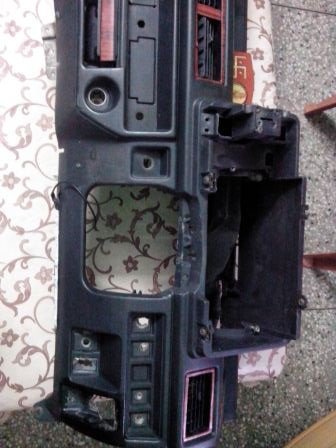
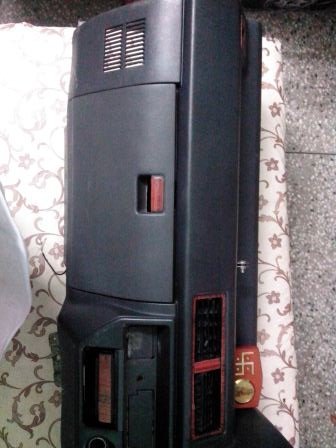
Finally I am back with lots of updates. The phase 2 restoration has begun. Special Thanks to Anand Bhai (SS80) for sending the Minda wiring harness for my car. In my city minda wiring harness was not available.

My restoration plan includes
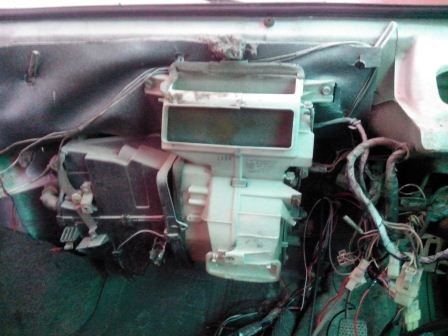
1. Changing Complete wiring harness
2. Sound/heat reduction in the cabin
3. Red and Black interior with type 2 roof
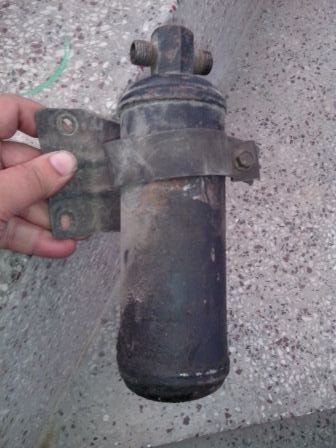
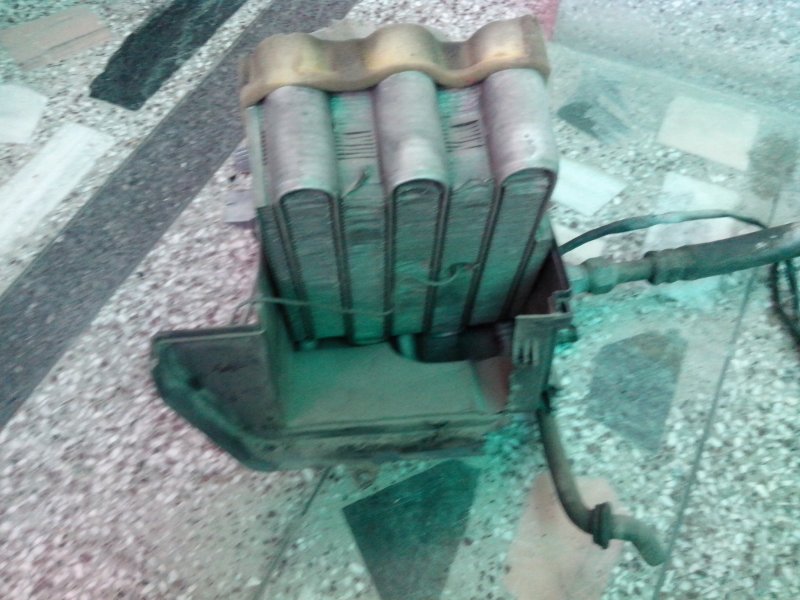
4. Repairing the AC
5. A better music system
6. Multicolor underbody and interior lights
7. Power Window Kit (if budget permits)
8. And few more accessories etc.


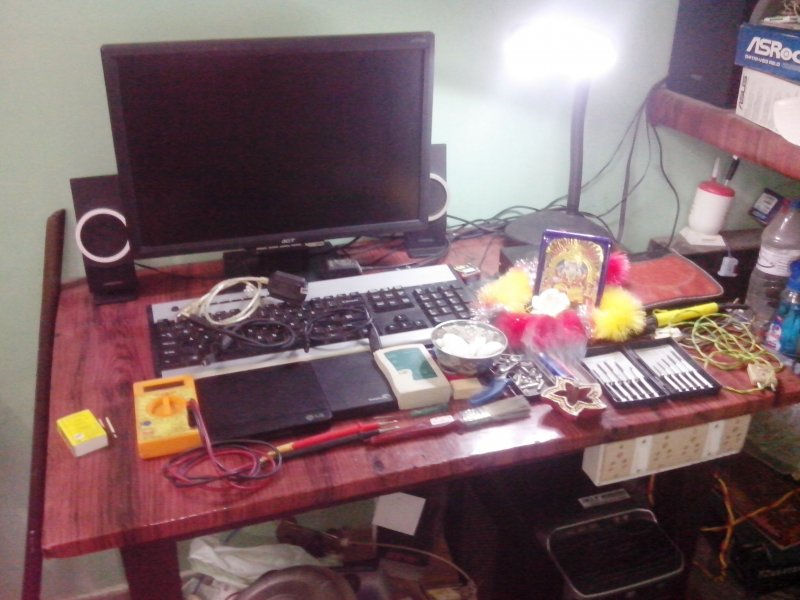
Few pics:
 

Attachments

Last edited:
Thread Starter #414
Joined
Mar 28, 2012
Messages
582
Likes
81
Location
Lucknow
Sorry for being away for a long time as I was too busy in office work.
My second phase restoration had completed long time ago and the car is working fine now.
Lots of updates and pics are there which will be posted soon.
Few of the updates are:
Proper working AC
New ICE DVD Player+Sony Speakers+Worldtech Bass Tube
New Interior Red & Black
Type 2 roof molding and few more.

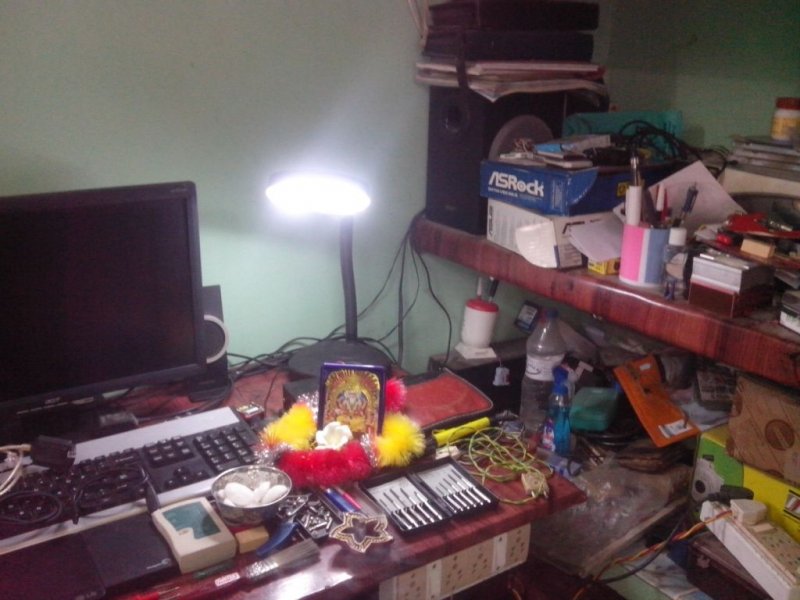
Today posting the pics of Vishwakarma Pooja done at home
IMG_20140917_104114.jpg
IMG_20140917_104129.jpg
IMG_20140917_104210.jpg
IMG_20140917_104555.jpg
IMG_20140917_104747.jpg
IMG_20140917_104119.jpg
 
Joined
Apr 29, 2015
Messages
300
Likes
288
Location
Kolkata
Shantanu, I liked all your DIYs .[:)]The white colour is cool.[lol]
BTW, no updates for a year?Can you post some interior photos?
With Regards
Shrijit
 
Last edited:

bhvm

Honoured Member
Joined
Oct 15, 2011
Messages
5,289
Likes
4,818
Location
Some Village
by running lights you mean DRL?
that's cool bro. the designs you've done is perfect and 30ohm resistors on 14.4v will. drive each led At 150ma which will prevent led from blowing.

however next time, use a simple DC DC converter. it's available on eBay for.Led. rs 80.

kudos to you bro!
 
Joined
Jun 23, 2015
Messages
9
Likes
1
Location
hassan
Hi shantanu I liked your diy I like to do some on my car . I like to install LED inside the cabin could you help me with circuit diagram . my ride is m800 2000 model
 
Joined
Jan 23, 2016
Messages
24
Likes
9
Location
Chennai
Dear All,
I had requested for some information regarding wiring from Alternator to the battery, but nothing received. How ever I have changed the cable from the old alternator (Maruthi 800AC) to the battery with thick wire used in Inverter. The old wiring was giving eratic reading from 12.8 to 13.7V without any load. Battery was not gettin charged and many problems. Today I used the inverter wife and fixed it to the Alternator. Also I removed the same wire connecting the battery. There was no power coming and could not charge. How ever I connected the old wire to the battery leaving everything as it is. Then I started the car and it started without any problem. The power was steady at 14.17V. Two questions. Is the earlier wire connected to the realay or to the key? Second how to remove the old wire and use only the thick wire? Once I am through with this will change the Alternator to Swife.
Also how to check a used alternator as I have already found one in Pudupet, Chennai. If able to check confidently buy it and fix.
Thanks

V Krishna Swamy, Chennai
 

bhvm

Honoured Member
Joined
Oct 15, 2011
Messages
5,289
Likes
4,818
Location
Some Village
you will need a DC capable clamp meter to check the current flow. it should be about 10amps from alternator to Battery.
 
Top Bottom