Honda Amaze VX i-DTEC Ownership Review


Joined
Dec 8, 2010
Messages
8,137
Likes
1,790
Location
Hyderabad
Hmm, what an amazing DIY on Amaze Vichu !! I am really impressed with you detailing and care on your car and also 11k within short time[clap]I wish you many happy miles with your Amaze and yes would like to see your Amaze when I visit next to Kerala.

Have you installed those speakers on the front doors are rear ??
 
Joined
Aug 3, 2013
Messages
19
Likes
4
Location
Alappuzha
Good DIY jobs buddy, & may be best ownership thread in TAI . [clap]

Most often I have seen damping mats sticking in door pads, & here its sticked to doors. I think doors feel lot more solid too. How is the overall NVH Levels now?
BTW Does the stock player has enough output to drive the new speakers?
Do let us know the difference in the sound quality after the upgrade.
 
Last edited:
Thread Starter #363
Joined
Jul 22, 2013
Messages
1,005
Likes
815
Location
Trivandrum
Hmm, what an amazing DIY on Amaze Vichu !! I am really impressed with you detailing and care on your car and also 11k within short timeI wish you many happy miles with your Amaze and yes would like to see your Amaze when I visit next to Kerala.

Have you installed those speakers on the front doors are rear ??
You are most welcome [:)]

Only on the front Doors, checking on something good for the rear. will be doing a DIY soon [;)]

Good FYI jobs buddy

Thank you [:D]
 

deville_56

Honoured Member
Joined
Sep 11, 2009
Messages
2,974
Likes
4,815
Location
Trivandrum
BTW Does the stock player has enough output to drive the new speakers?
Do let us know the difference in the sound quality after the upgrade.
Stock HU is too good by stock standards. SQ is far better than stock speaker, After adding amp, its much more better.

BTW stock speaker was a little miracle. It got no magnet and gave good thump and treble with just the full range and no extra tweeter.
 
Thread Starter #367
Joined
Jul 22, 2013
Messages
1,005
Likes
815
Location
Trivandrum
Good DIY jobs buddy, & may be best ownership thread in TAI . [clap]

Most often I have seen damping mats sticking in door pads, & here its sticked to doors. I think doors feel lot more solid too. How is the overall NVH Levels now?
BTW Does the stock player has enough output to drive the new speakers?
Do let us know the difference in the sound quality after the upgrade.
The NVH levels has been decreased to a very great extent[clap]
 
Thread Starter #368
Joined
Jul 22, 2013
Messages
1,005
Likes
815
Location
Trivandrum
Tweeter installed

2013-11-18 17-28-31.jpg


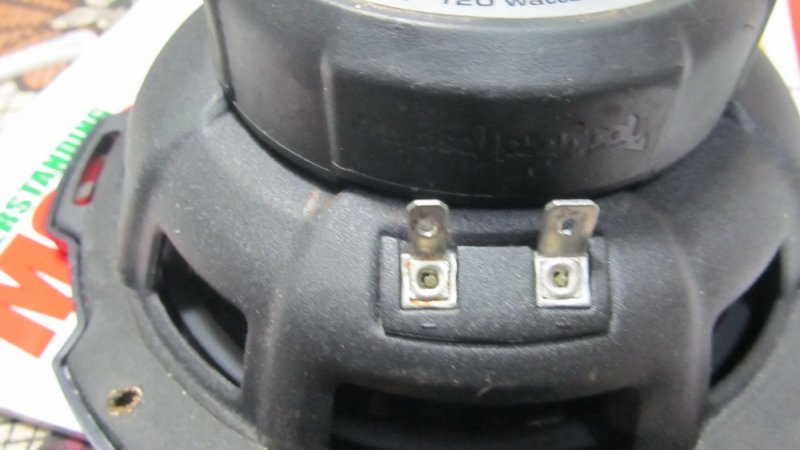
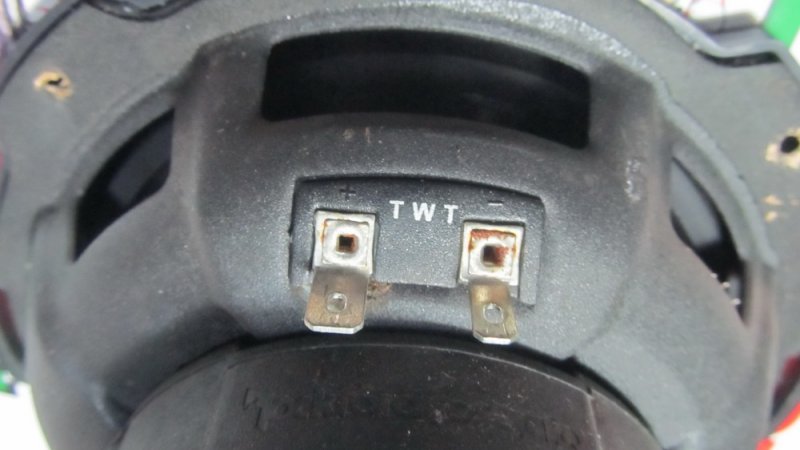
RF component input. Unlike regular components the splitting network is concealed inside the woofer unit and no dangling parts.

2013-10-18 19-56-16.jpg


Tweeter output from RF woofer.

2013-10-18 19-56-25.jpg


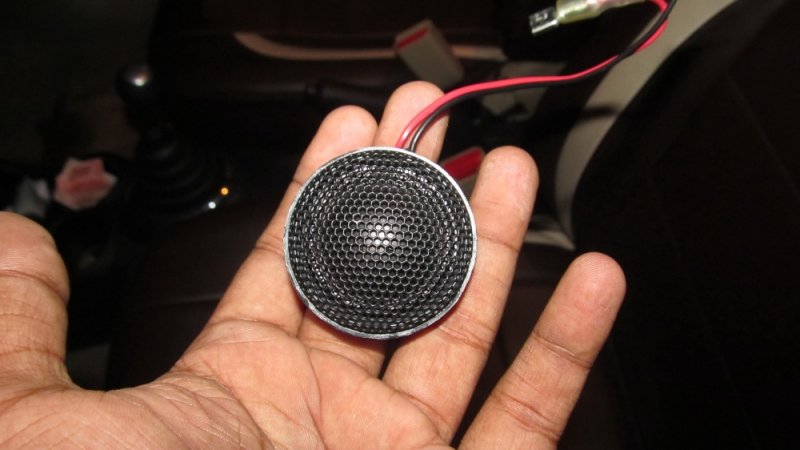
RF Tweeter. Lost the cover and other axillary parts with previous owner.

2013-10-19 18-14-40.jpg

2013-10-19 18-15-55.jpg


Thick sleeved cable used to draw power for amp.

2013-11-17 21-27-23.jpg


HU connector.

2013-11-17 22-31-35.jpg


HU rear. Second socket is for USB. Third one is there to connect antenna.

2013-11-17 22-33-12.jpg


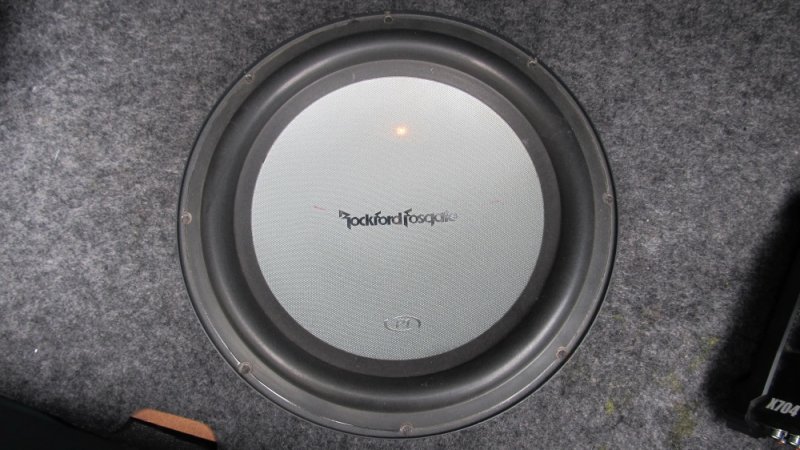
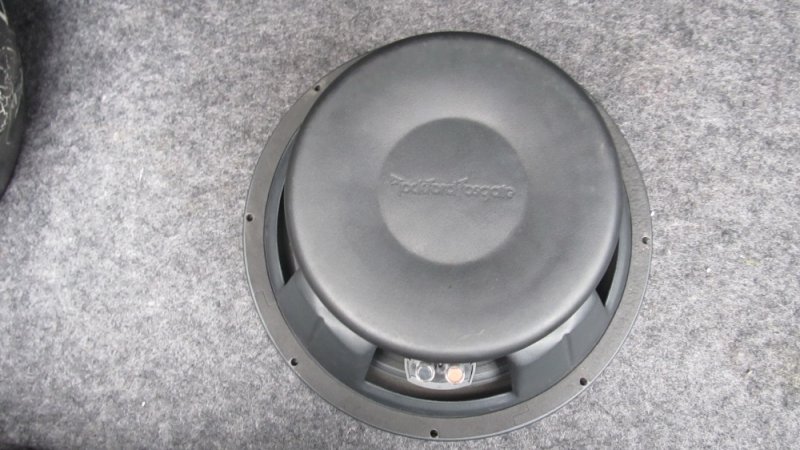
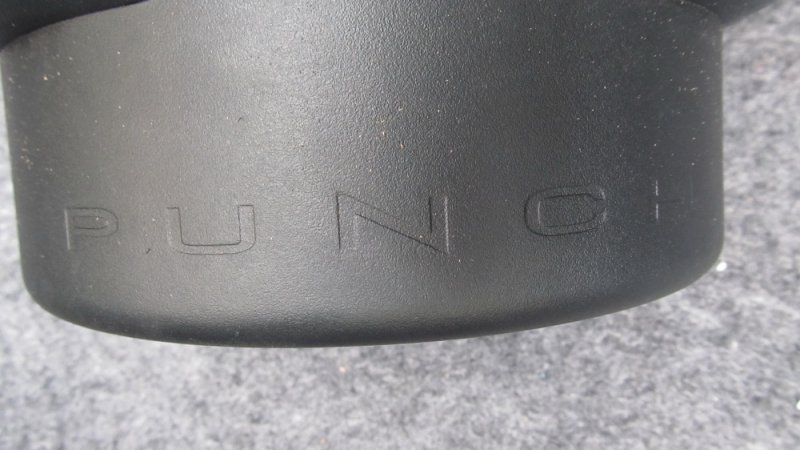
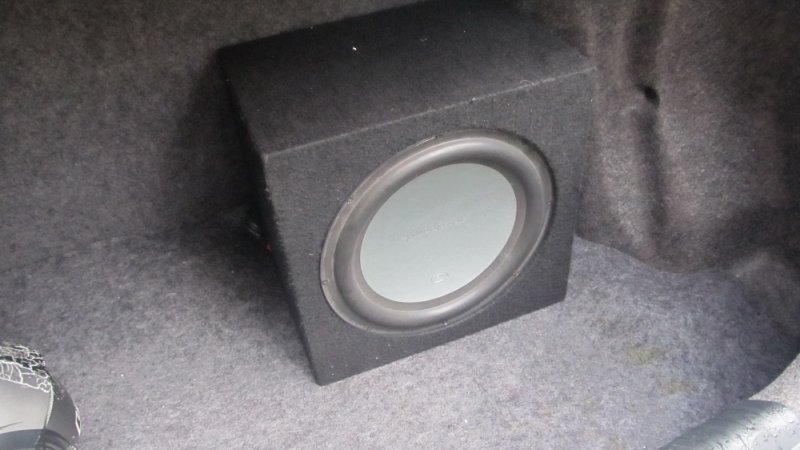
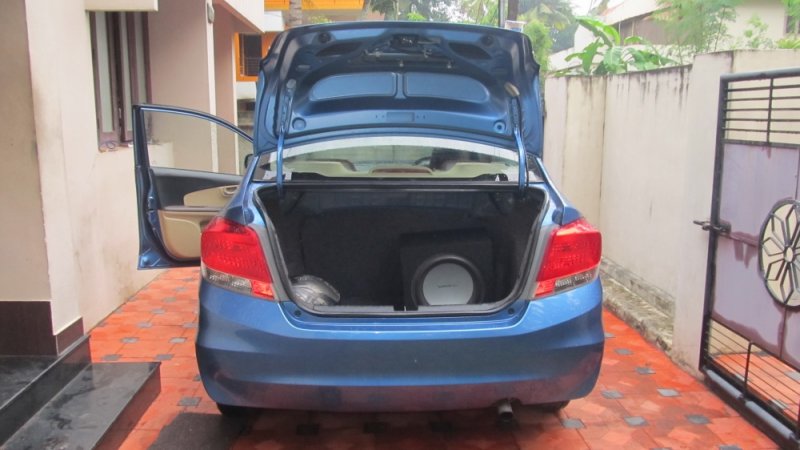
RF P15412 12" SW. 150W RMS

2013-11-18 09-14-58.jpg

2013-11-18 09-15-11.jpg

2013-11-18 09-15-58.jpg

Input terminal.

2013-10-18 20-02-12.jpg


Enclosure with glass wool filled.

2013-11-18 09-14-35.jpg


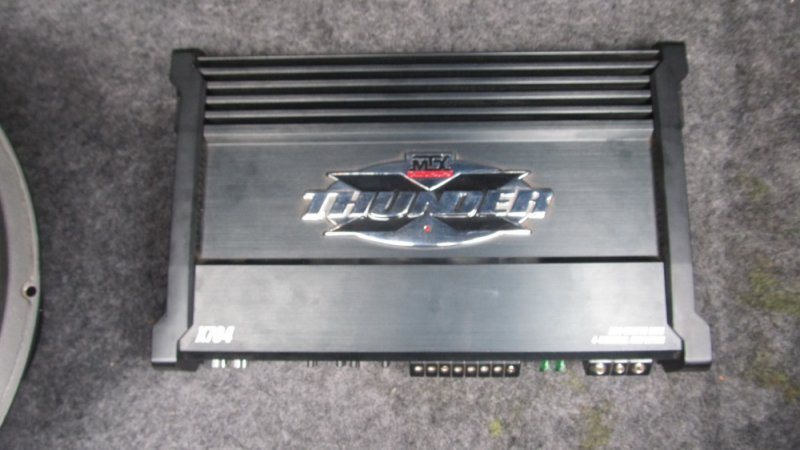
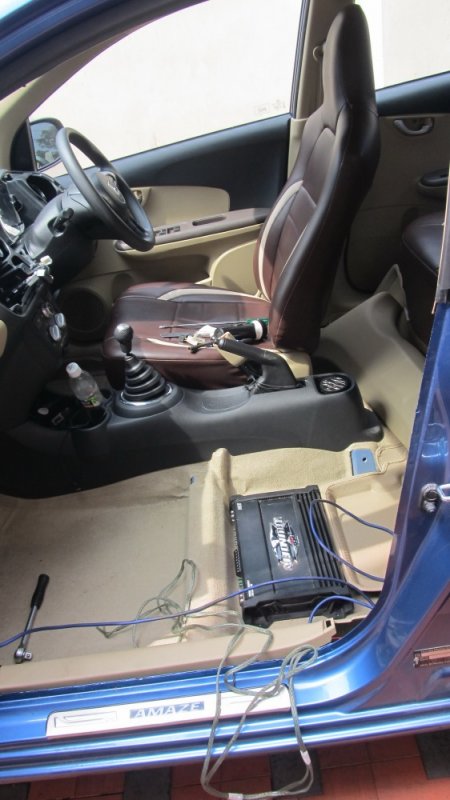
MTX Thunder X704

70W RMS x 4 channel bridgable amp.

2013-11-18 09-17-19.jpg

2013-11-18 09-17-25.jpg


Rear panel.

2013-11-18 09-22-49.jpg


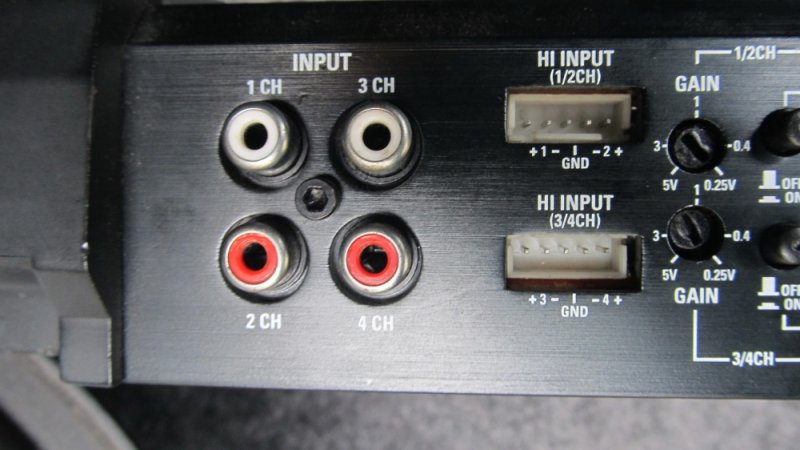
Got RCA input as well as inbuilt line converter. Stock HU can be used directly with this, boon for us guys,

2013-11-18 09-23-38.jpg


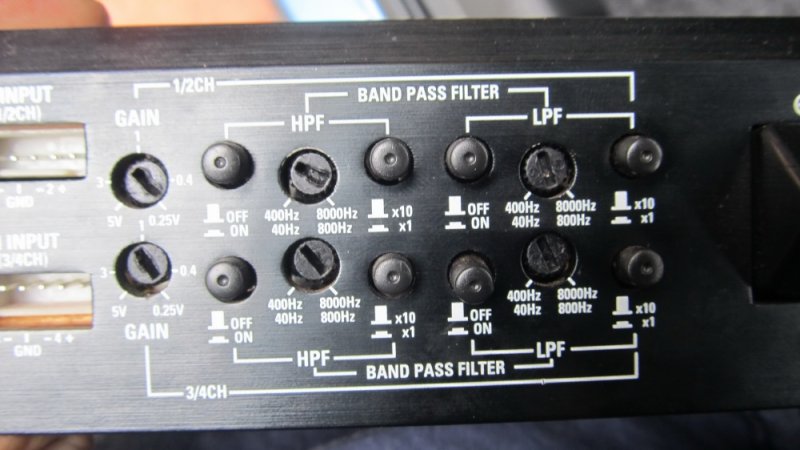
Gain and frequency select goes here.

2013-11-18 09-23-53.jpg


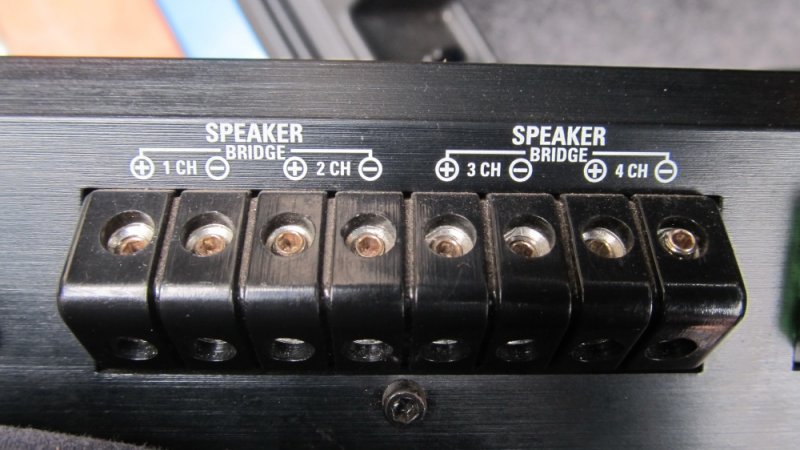
Speaker out. Bridgable. Every terminal in this amp is tightened via allen key in place of star screw. Connected component to one set of amp and used the other set in bridge mode to run the subwoofer.

2013-11-18 09-24-00.jpg


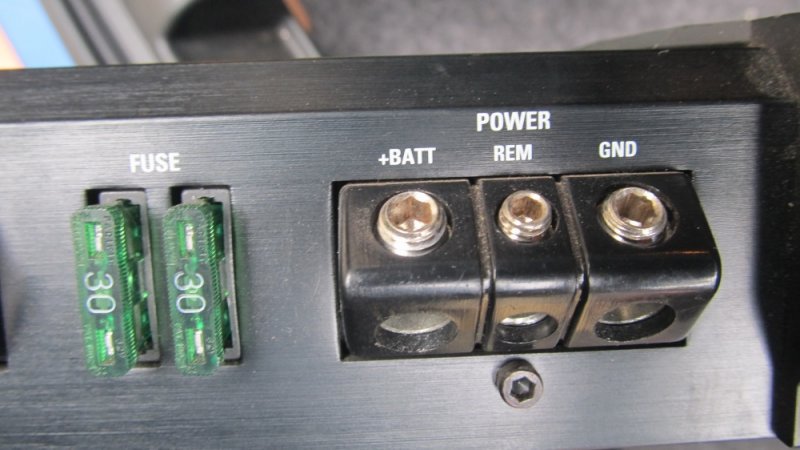
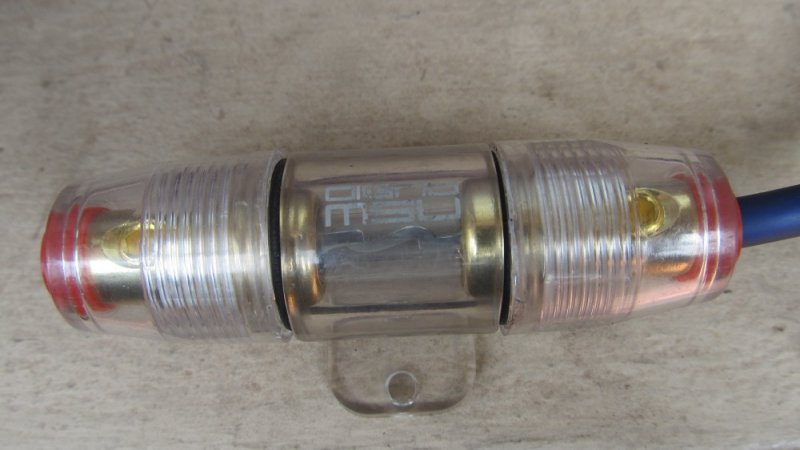
Power connection goes here. Positive supply fed to the REM terminal turn on the amp. After market HU got specific output to feed this. Since no signla from stock HU, ACC connection is used to control the amp. Either of the amp can be disabled by pulling off the fuse.

2013-11-18 09-24-06.jpg


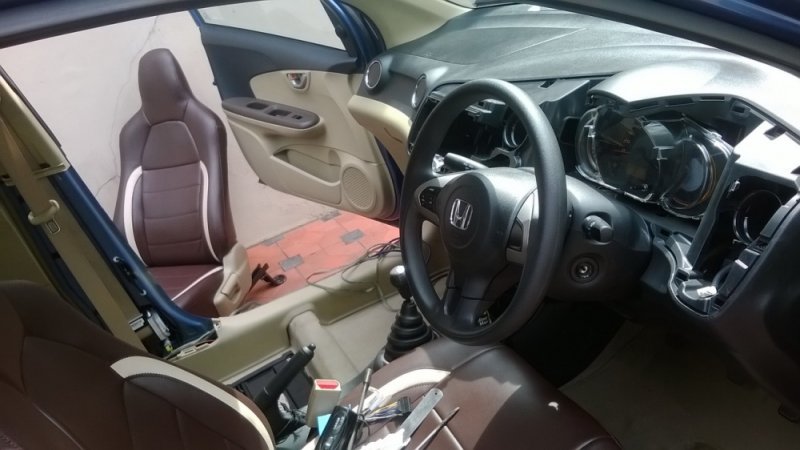
Dash and seat stripped to work on.

2013-11-18 10-18-58.jpg

2013-11-18 10-19-30.jpg

2013-11-18 10-43-50.jpg


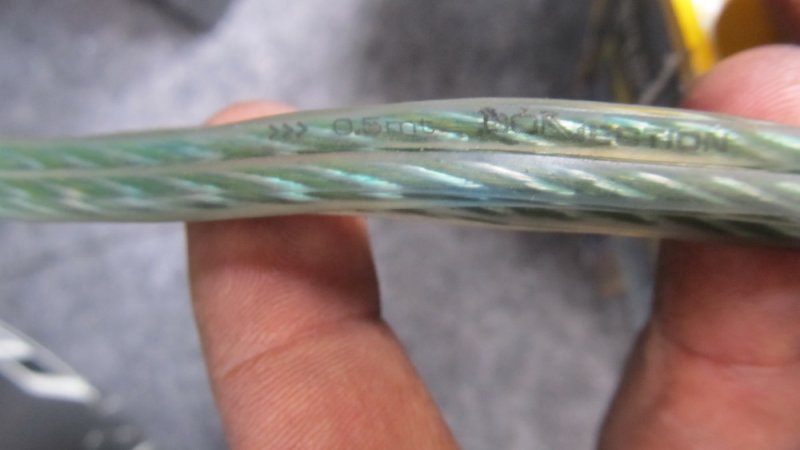
Thick sleeved speaker wires, used 2 strands twisted to get thicker gauge.

2013-11-18 10-42-47.jpg

2013-11-18 10-43-06.jpg


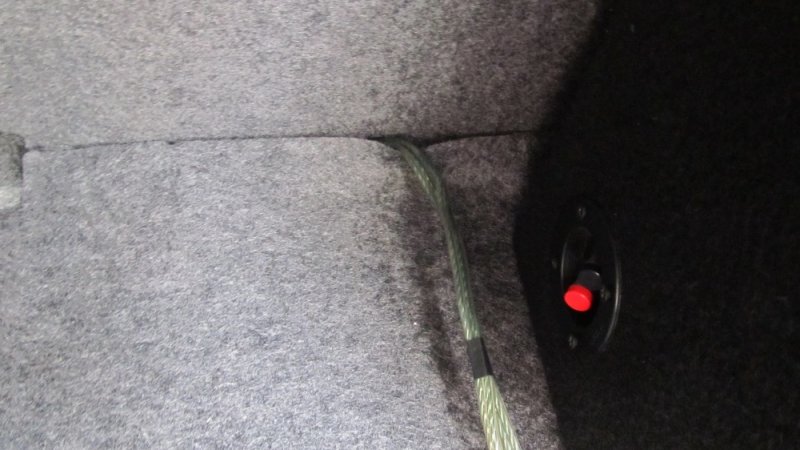
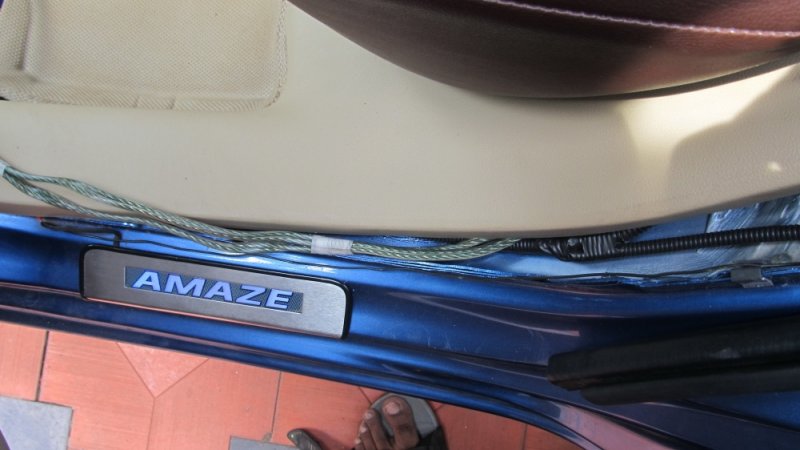
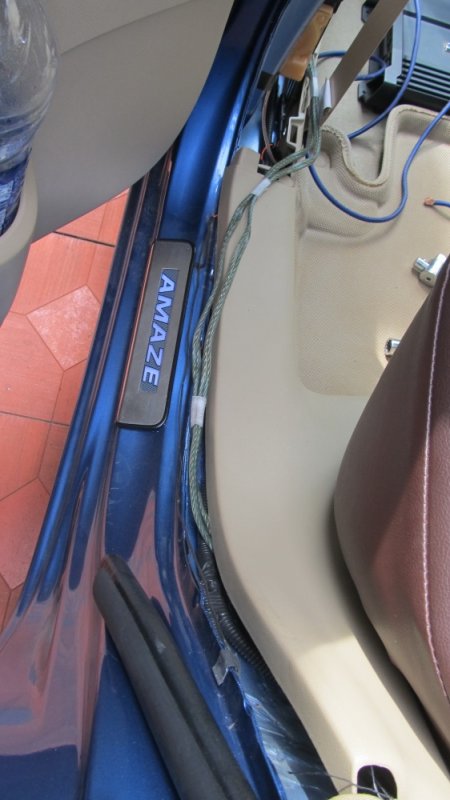
Neatly concealed the speaker wire from boot through running board till amp, placed under front passenger seat.

2013-11-18 10-43-14.jpg

2013-11-18 10-43-25.jpg

2013-11-18 10-43-34.jpg

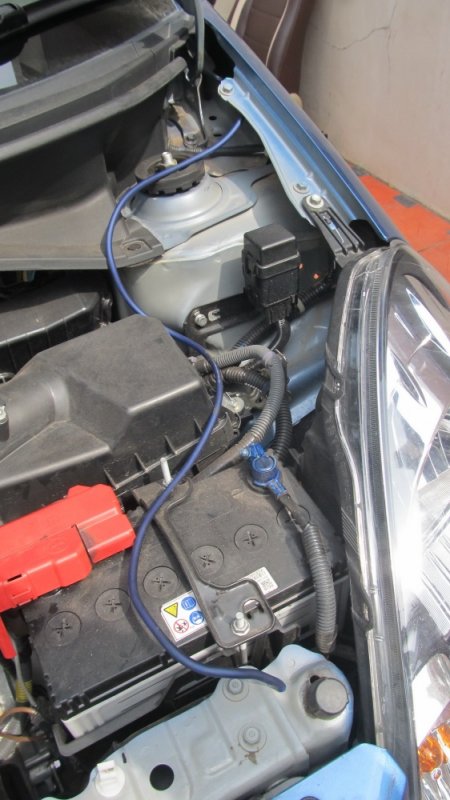
Wire routed from battery to power amp.

2013-11-18 10-43-59.jpg

2013-11-18 10-43-44.jpg
 
Last edited:
Joined
Jul 17, 2013
Messages
36
Likes
13
Location
rudrapur
hi vishnu
nice DIY. I have a question. have you changed your head unit or still using the stock one.
And if you are using stock then what kind of connection did you do to connect the head unit
 
Joined
Jul 17, 2013
Messages
36
Likes
13
Location
rudrapur
hi vishnu
nice DIY. I have a question. have you changed your head unit or still using the stock one.
And if you are using stock then what kind of connection did you do to connect the head unit
 

Top Bottom