
Thread Starter
#1
Just to make myself clear at the start, this build is a very basic one unlike most other fellow audiophiles who have taken their car audio builds to a different level. I plan to take the setup stage by stage as I have done so far and will record my progress on the forum.
Introduction to my journey in car audio
Since childhood music has played an immense role on my emotional well-being and overall development. The music that I was brought up with was old school rock and metal. I was introduced to this by my father who is also very passionate about his music. Most of the memories I recall of some songs come from when he used to play them in his 2002 Maruti WagonR while he used to take me to school or parks or other places when I was a 5 year old. Father initially had a Blaupunkt single din stereo as I vividly recall and 4 very basic speakers (probably OEM) in the car. When I was about 6 years old, father came home one day and told me he'd take me out for lunch as he was done working for the day. I remember stepping into the car and looking at a new Pioneer head unit, a Sony Xplod amplifier under the passenger seat and a pair of Pioneer oval shaped 6×9 speakers on the rear parcel tray. The previous Blaupunkt head unit had just the options of FM radio and a cassette player and nothing else. This new Pioneer HU had a CD player and FM radio which was a big step up at the time. Clearly I just remember the brand names and not the model numbers (which probably wouldn't be of any use anyway). Father had an amazing collection of CDs, some of which I still have to this day in pristine condition. (Talk about memories!) It is pretty evident from this, that great sounding automobiles was introduced to me at a very young age and always made me crave for near perfect sounding systems, be it home theatres or mobile audio.
Moving on to the Santro, here are the upgrades I've made stage by stage
Stage 1 : Changing the HU
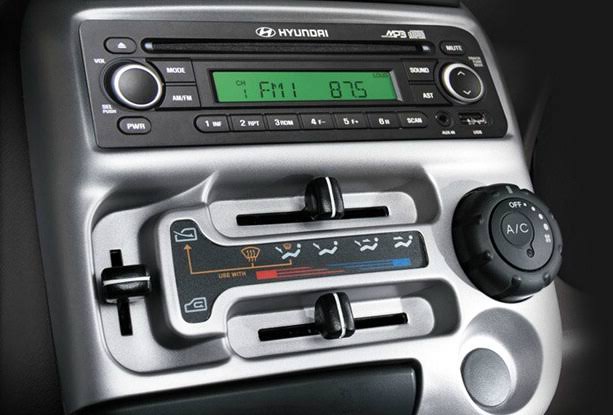
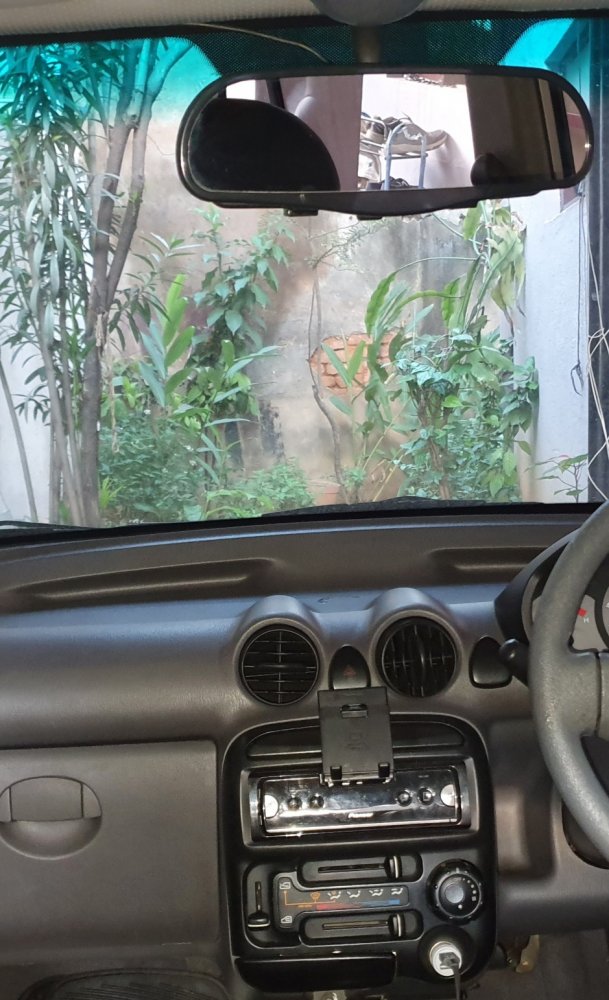
The stock HU looked very similar to the image attached above and had very basic features like FM and a CD player. As the Santro was a car which was very sparingly used by my parents in it's early years, they didn't see the need to upgrade the HU. The car was handed down to me 2 years ago, and my first priority was to make sure the HU was upgraded as there wasn't even the option of USB or AUX in the unit provided by Hyundai. This made me search for a good unit in a very tight budget as I was already looking to make upgrades on the speakers of the car and thus needed to spend wisely on it. My search for a new HU led me to finally make a decision to buy the Pioneer DEH S1090UB

The unit had USB with Pioneer's ARC app compatibility, AUX and a CD player. 2 RCA pre outs and a remote control were provided. A great overall package for a very cheap price which I got it for at JC Road, Bangalore.
Stage 2: Replacing rear OEM speakers
After getting my head unit replaced, the rear speakers slowly started to get a bit jarry and distorted. As the speakers weren't changed since the factory install, I decided to get it done. The Santro provides for a 6.5 inch provision for 2 rear channels behind the backseat. I decided to get a very basic pair of speakers for replacement as I had the oval shaped speakers in mind and wanted to get a temporary solution for this as the OEM speakers were really at the end of their life.
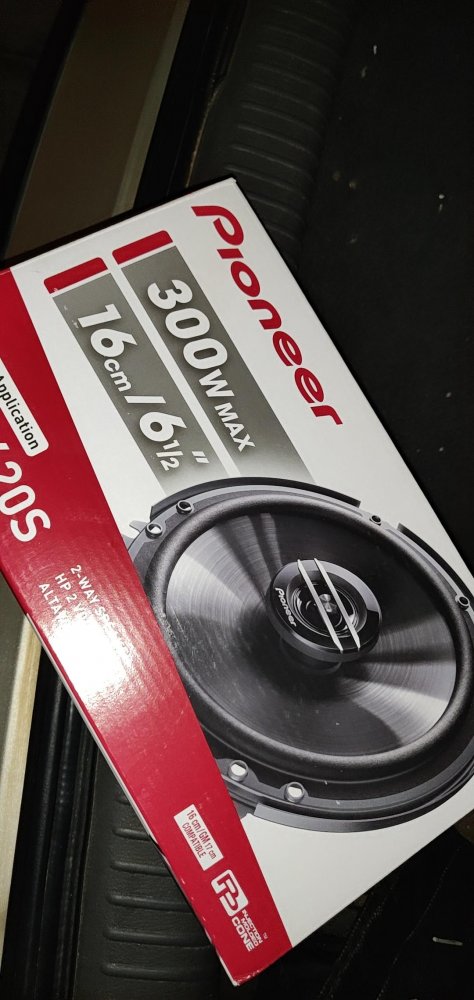
Again visited a very cheap store in JC Road to get these done as these were only going to do its job for a few months before I decided to go ahead and purchase the 6x9s
Stage 3: Front speaker replacement, fresh wiring and a 3 way 6x9 pair of coaxial speakers at the rear
Almost 5 months since I changed the rear speakers, the front factory fitted speakers started jarring. The FL channel stopped working and the FR was extremely distorted and became painful to hear. This time I decided to get a good set of speakers, both at the front as well as the rear and as my budget allowed me, I finally decided to go ahead with the 6x9 setup on the rear parcel tray. I called up one of the best ICE installers in Bangalore, Satya who owns EVO and fixed a slot to get my speakers changed and also to learn more about car audio from him as he is a renowned installer in Bangalore. One of his boys inspected the front speakers and figured out the cone on the FL channel was torn and the cone on the FR was very weak and on the verge of falling apart too. I luckily still kept the speakers and could take a picture of them while writing this.
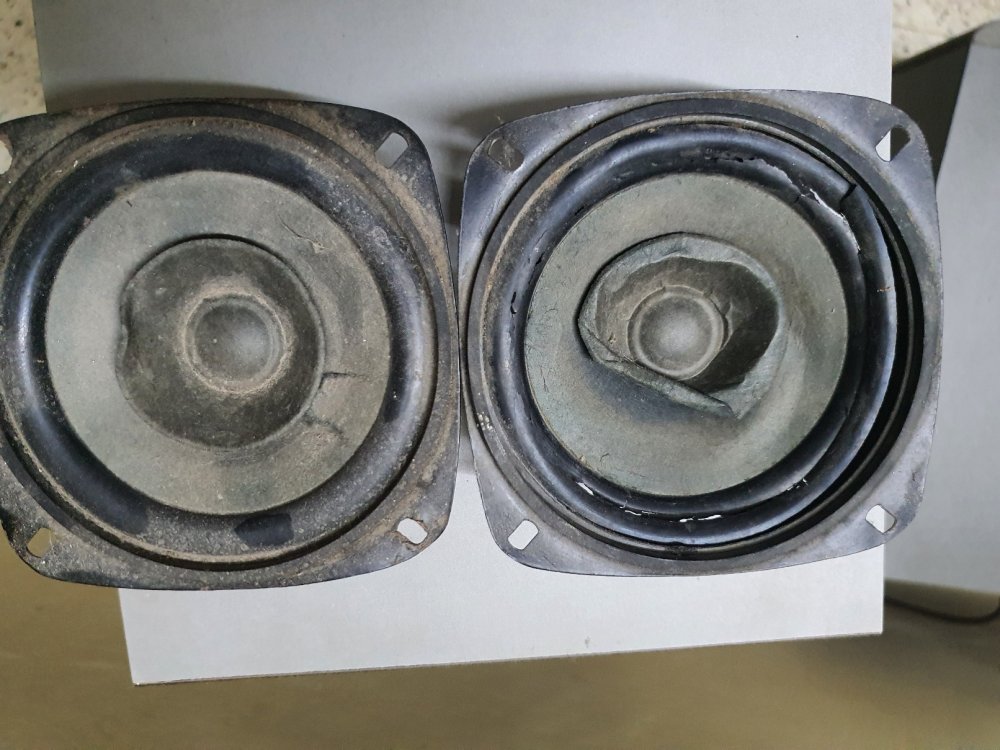
This is how bad the speakers looked and definitely needed to be replaced in order for me to even have front speakers. I asked Satya for his best recommendation for a pair of good replacement 4" speakers and he told me to go with the Rockford Fosgate Prime series R42 speakers. They are a 2 way coaxial pair of speakers which give a decent nominal output of 25W at 4 ohm
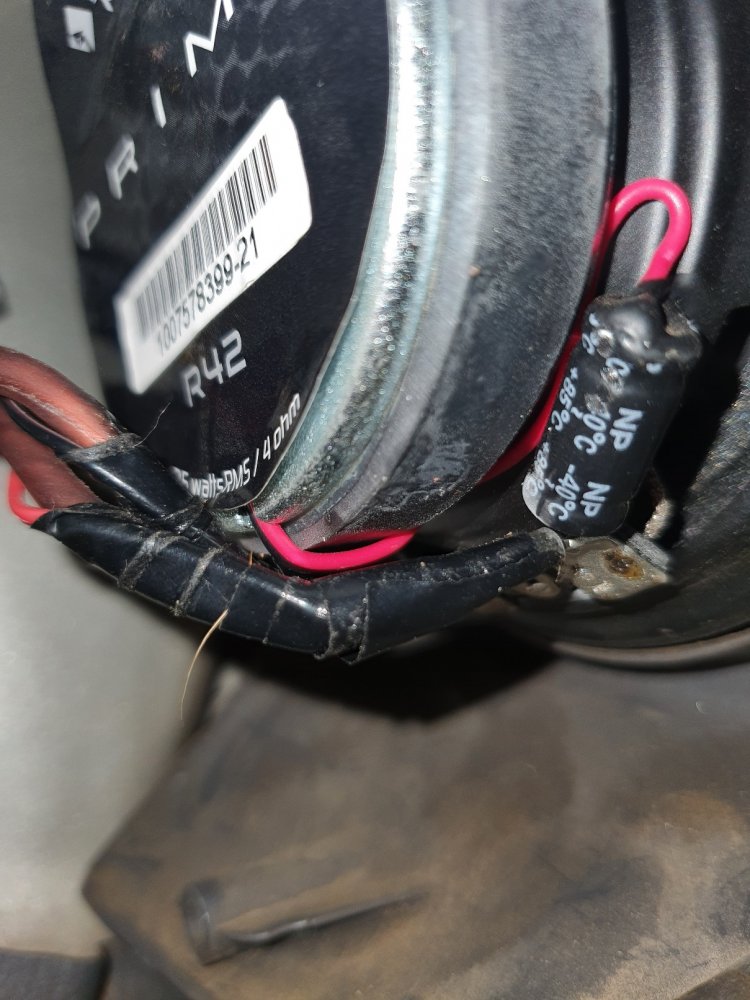
I apologize for the quality of the image attached as the speaker is fit in the dashboard and taking a picture of the same isn't the easiest task. The output of this speaker is stupendous given the size and also the fact that this was rewired using pure oxygen free 16 gauge copper made a significant difference in the way it handled midrange and high frequencies. The next step was to finally get my beloved 6x9 3 way coaxial pair of speakers fitted on the rear parcel tray. Again going with Satya's recommendation, the Infinity Alpha 6930 was decided on and was fit and wired perfectly with the same oxygen free 16 gauge copper wire.

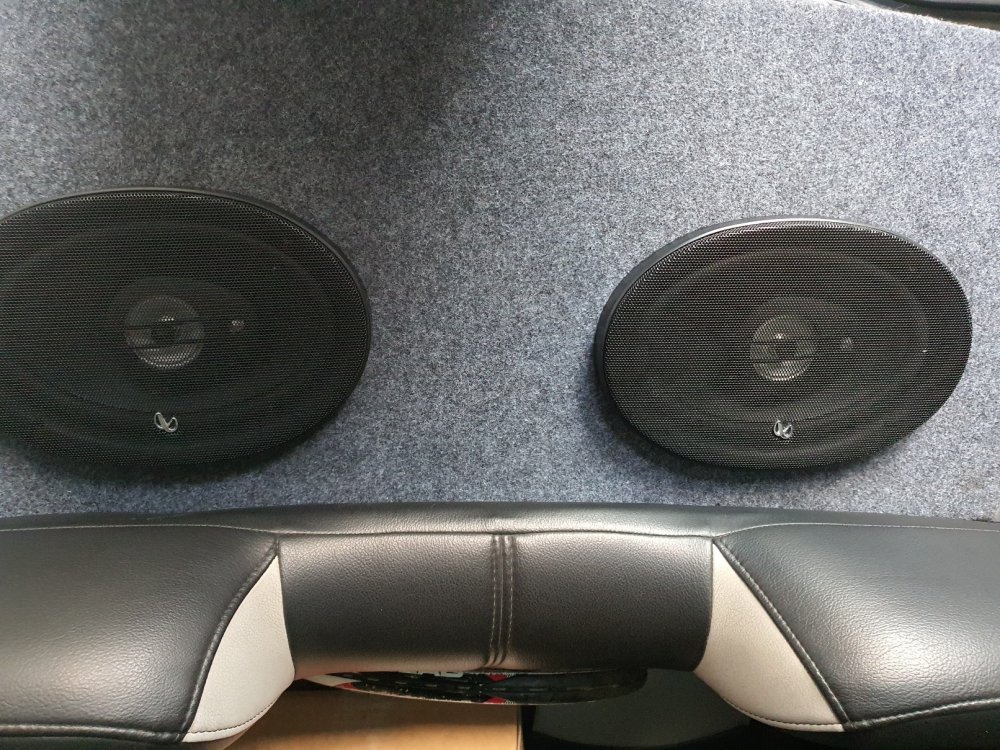
The newly fit front and rear speakers added a significant increase in overall performance of the system and I really began to enjoy my music since. The bass and vocals of the oval shaped rear speakers were amazing, the midrange and high frequencies produced by the front speakers were absolutely perfect and I carried on with the same setup for almost a year.
Stage 4 (Not really): Upgrading the HU again
The S1090UB was a great head unit and I had no complaints with it whatsoever. However, the need for a Bluetooth compatible head unit became more and more of a necessity as attending calls while driving is cumbersome, illegal and hazardous. Fixed an appointment with Satya again and he recommended me to take the newly released Pioneer SPH-C19BT. This was a relatively inexpensive unit which has an insane amount of features loaded in it and also an extremely powerful one too. FLAC compatibility was another feature which I really liked as lossless audio definitely makes a difference to an audiophile. The biggest USP however was the Pioneer Smart Sync mobile app connectivity. The app is available for both Android as well as iOS users on their respective app stores and this app generates the display for the head unit which makes it seem like it is a double DIN HU. Interface is relatively smooth and there is almost no lag between the phone and head unit. Software updates are provided periodically by Pioneer and can be installed by downloading the file from the official website, transferring it to a USB drive and plugging it and installing it on the head unit.

2 RCA pre outs are provided, manual time alignment, 31 band Equalizer and super todorki bass are some of the features of this player that really are impressive.
Stage 5: 4 channel amplifier, subwoofer and tweeters
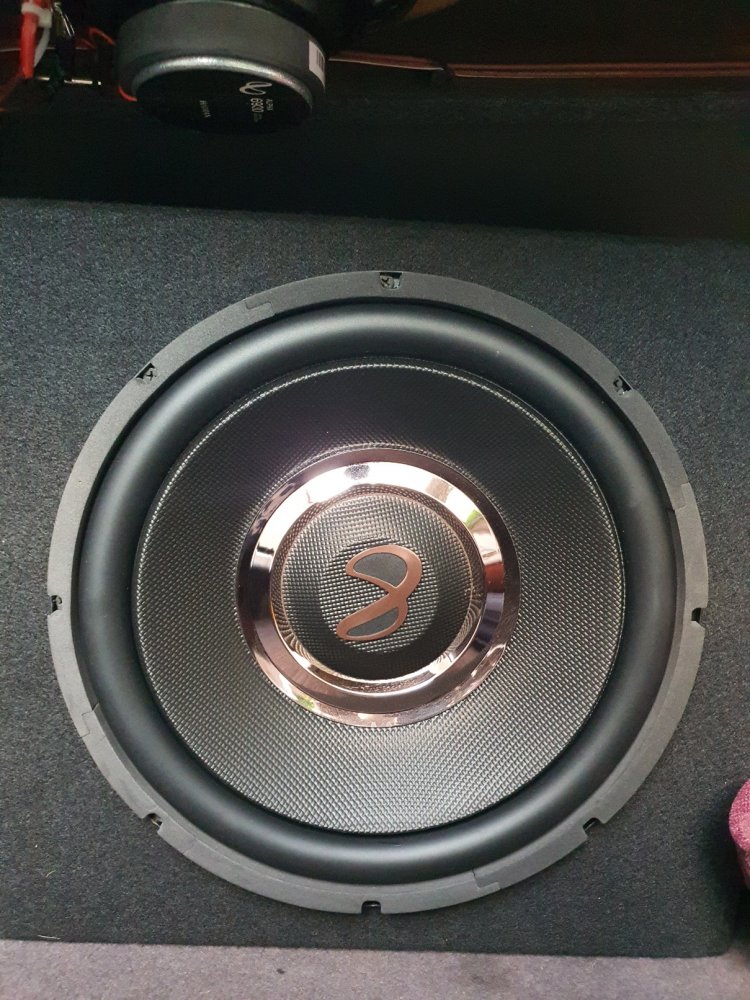
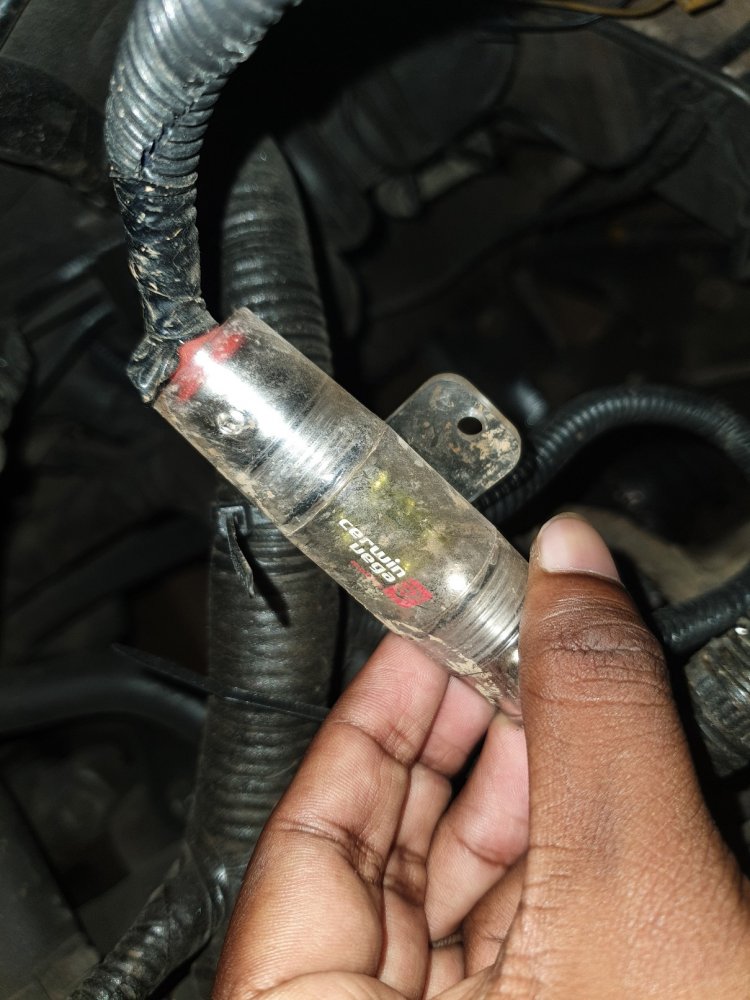
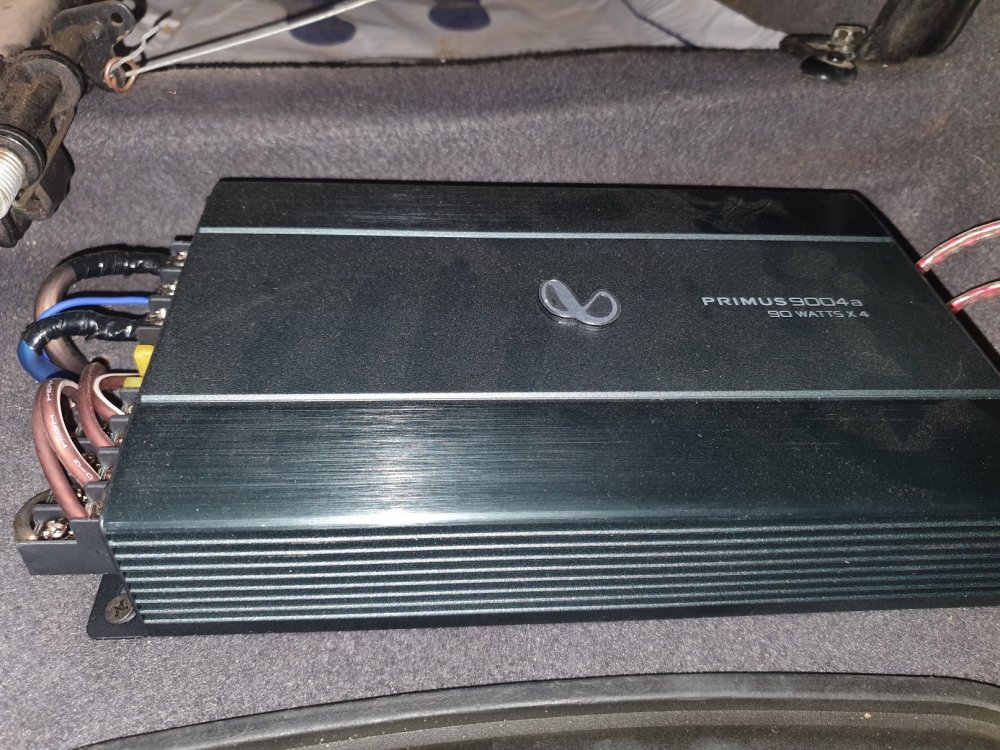
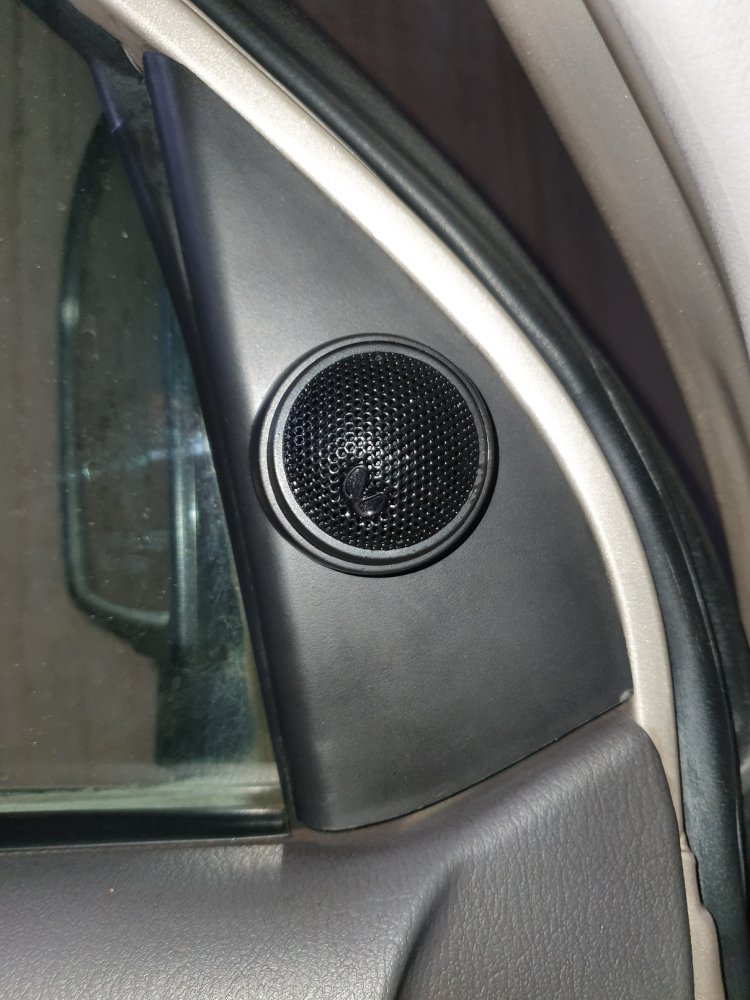
Recently, I decided to finally add a subwoofer and an amplifier to my setup. I had been pushing this stage for quite some time as I didn't have the time and needed the boot space at the time. Finally decided on the Infinity Primus 9004A amplifier and the Primus 1270 subwoofer. The 9004A seemed like the best choice for an amplifier which was under the Rs. 12,000 price range as it has a nominal power output of 90Wx4 at 4ohms. It is also bridgeable and the bridged RMS output stands at 220Wx2 which is more than enough to power the Primus 1270 subwoofer and 2 front channels. Since the bass was now pretty heavy considering the fact that there was already a pair of 6x9 speakers at the rear, I had to tune the HPF of the rear speakers to play higher frequencies as the low frequencies is being taken care of by the subwoofer. Infinity Alpha series tweeters were also added to the front to improve treble and give an all round experience instead of just a thumpy bass tune. The amplifier was wired using a Cerwin Vega 8ga wiring kit with a fuse holder, RCA cables were installed and the subwoofer was powered by Acustika high performance oxygen free copper 16ga wires. This stage was by far the most expensive, however it doesn't end here. Plans for a 6.5 inch custom door fit component speakers and a DSP are on my mind too. Here are some photos I took just last evening of the setup
To conclude, I would say that this definitely is just a basic setup and although it does sound good, there is still room for improvement. I will definitely upgrade the SQ build and post my progress on this thread. Below, I will list the prices for the overall setup (excluding the first HU and rear 6.5s as they are not part of the build anymore)
Infinity Alpha 6930 - Rs. 5,000
Rockford Fosgate Prime R42 - Rs. 3,000
Wiring - 900
Pioneer SPH-C19BT - Rs. 7,150
Infinity Primus 9004A, Primus 1270, Alpha 10T, Subwoofer enclosure, RCA wires and labour charges collectively - Rs. 21,900
Total cost of build Rs. 37,950
Introduction to my journey in car audio
Since childhood music has played an immense role on my emotional well-being and overall development. The music that I was brought up with was old school rock and metal. I was introduced to this by my father who is also very passionate about his music. Most of the memories I recall of some songs come from when he used to play them in his 2002 Maruti WagonR while he used to take me to school or parks or other places when I was a 5 year old. Father initially had a Blaupunkt single din stereo as I vividly recall and 4 very basic speakers (probably OEM) in the car. When I was about 6 years old, father came home one day and told me he'd take me out for lunch as he was done working for the day. I remember stepping into the car and looking at a new Pioneer head unit, a Sony Xplod amplifier under the passenger seat and a pair of Pioneer oval shaped 6×9 speakers on the rear parcel tray. The previous Blaupunkt head unit had just the options of FM radio and a cassette player and nothing else. This new Pioneer HU had a CD player and FM radio which was a big step up at the time. Clearly I just remember the brand names and not the model numbers (which probably wouldn't be of any use anyway). Father had an amazing collection of CDs, some of which I still have to this day in pristine condition. (Talk about memories!) It is pretty evident from this, that great sounding automobiles was introduced to me at a very young age and always made me crave for near perfect sounding systems, be it home theatres or mobile audio.
Moving on to the Santro, here are the upgrades I've made stage by stage
Stage 1 : Changing the HU
The stock HU looked very similar to the image attached above and had very basic features like FM and a CD player. As the Santro was a car which was very sparingly used by my parents in it's early years, they didn't see the need to upgrade the HU. The car was handed down to me 2 years ago, and my first priority was to make sure the HU was upgraded as there wasn't even the option of USB or AUX in the unit provided by Hyundai. This made me search for a good unit in a very tight budget as I was already looking to make upgrades on the speakers of the car and thus needed to spend wisely on it. My search for a new HU led me to finally make a decision to buy the Pioneer DEH S1090UB
The unit had USB with Pioneer's ARC app compatibility, AUX and a CD player. 2 RCA pre outs and a remote control were provided. A great overall package for a very cheap price which I got it for at JC Road, Bangalore.
Stage 2: Replacing rear OEM speakers
After getting my head unit replaced, the rear speakers slowly started to get a bit jarry and distorted. As the speakers weren't changed since the factory install, I decided to get it done. The Santro provides for a 6.5 inch provision for 2 rear channels behind the backseat. I decided to get a very basic pair of speakers for replacement as I had the oval shaped speakers in mind and wanted to get a temporary solution for this as the OEM speakers were really at the end of their life.
Again visited a very cheap store in JC Road to get these done as these were only going to do its job for a few months before I decided to go ahead and purchase the 6x9s
Stage 3: Front speaker replacement, fresh wiring and a 3 way 6x9 pair of coaxial speakers at the rear
Almost 5 months since I changed the rear speakers, the front factory fitted speakers started jarring. The FL channel stopped working and the FR was extremely distorted and became painful to hear. This time I decided to get a good set of speakers, both at the front as well as the rear and as my budget allowed me, I finally decided to go ahead with the 6x9 setup on the rear parcel tray. I called up one of the best ICE installers in Bangalore, Satya who owns EVO and fixed a slot to get my speakers changed and also to learn more about car audio from him as he is a renowned installer in Bangalore. One of his boys inspected the front speakers and figured out the cone on the FL channel was torn and the cone on the FR was very weak and on the verge of falling apart too. I luckily still kept the speakers and could take a picture of them while writing this.
This is how bad the speakers looked and definitely needed to be replaced in order for me to even have front speakers. I asked Satya for his best recommendation for a pair of good replacement 4" speakers and he told me to go with the Rockford Fosgate Prime series R42 speakers. They are a 2 way coaxial pair of speakers which give a decent nominal output of 25W at 4 ohm
I apologize for the quality of the image attached as the speaker is fit in the dashboard and taking a picture of the same isn't the easiest task. The output of this speaker is stupendous given the size and also the fact that this was rewired using pure oxygen free 16 gauge copper made a significant difference in the way it handled midrange and high frequencies. The next step was to finally get my beloved 6x9 3 way coaxial pair of speakers fitted on the rear parcel tray. Again going with Satya's recommendation, the Infinity Alpha 6930 was decided on and was fit and wired perfectly with the same oxygen free 16 gauge copper wire.
The newly fit front and rear speakers added a significant increase in overall performance of the system and I really began to enjoy my music since. The bass and vocals of the oval shaped rear speakers were amazing, the midrange and high frequencies produced by the front speakers were absolutely perfect and I carried on with the same setup for almost a year.
Stage 4 (Not really): Upgrading the HU again
The S1090UB was a great head unit and I had no complaints with it whatsoever. However, the need for a Bluetooth compatible head unit became more and more of a necessity as attending calls while driving is cumbersome, illegal and hazardous. Fixed an appointment with Satya again and he recommended me to take the newly released Pioneer SPH-C19BT. This was a relatively inexpensive unit which has an insane amount of features loaded in it and also an extremely powerful one too. FLAC compatibility was another feature which I really liked as lossless audio definitely makes a difference to an audiophile. The biggest USP however was the Pioneer Smart Sync mobile app connectivity. The app is available for both Android as well as iOS users on their respective app stores and this app generates the display for the head unit which makes it seem like it is a double DIN HU. Interface is relatively smooth and there is almost no lag between the phone and head unit. Software updates are provided periodically by Pioneer and can be installed by downloading the file from the official website, transferring it to a USB drive and plugging it and installing it on the head unit.
2 RCA pre outs are provided, manual time alignment, 31 band Equalizer and super todorki bass are some of the features of this player that really are impressive.
Stage 5: 4 channel amplifier, subwoofer and tweeters
Recently, I decided to finally add a subwoofer and an amplifier to my setup. I had been pushing this stage for quite some time as I didn't have the time and needed the boot space at the time. Finally decided on the Infinity Primus 9004A amplifier and the Primus 1270 subwoofer. The 9004A seemed like the best choice for an amplifier which was under the Rs. 12,000 price range as it has a nominal power output of 90Wx4 at 4ohms. It is also bridgeable and the bridged RMS output stands at 220Wx2 which is more than enough to power the Primus 1270 subwoofer and 2 front channels. Since the bass was now pretty heavy considering the fact that there was already a pair of 6x9 speakers at the rear, I had to tune the HPF of the rear speakers to play higher frequencies as the low frequencies is being taken care of by the subwoofer. Infinity Alpha series tweeters were also added to the front to improve treble and give an all round experience instead of just a thumpy bass tune. The amplifier was wired using a Cerwin Vega 8ga wiring kit with a fuse holder, RCA cables were installed and the subwoofer was powered by Acustika high performance oxygen free copper 16ga wires. This stage was by far the most expensive, however it doesn't end here. Plans for a 6.5 inch custom door fit component speakers and a DSP are on my mind too. Here are some photos I took just last evening of the setup
To conclude, I would say that this definitely is just a basic setup and although it does sound good, there is still room for improvement. I will definitely upgrade the SQ build and post my progress on this thread. Below, I will list the prices for the overall setup (excluding the first HU and rear 6.5s as they are not part of the build anymore)
Infinity Alpha 6930 - Rs. 5,000
Rockford Fosgate Prime R42 - Rs. 3,000
Wiring - 900
Pioneer SPH-C19BT - Rs. 7,150
Infinity Primus 9004A, Primus 1270, Alpha 10T, Subwoofer enclosure, RCA wires and labour charges collectively - Rs. 21,900
Total cost of build Rs. 37,950
Last edited: