
Thread Starter
#151
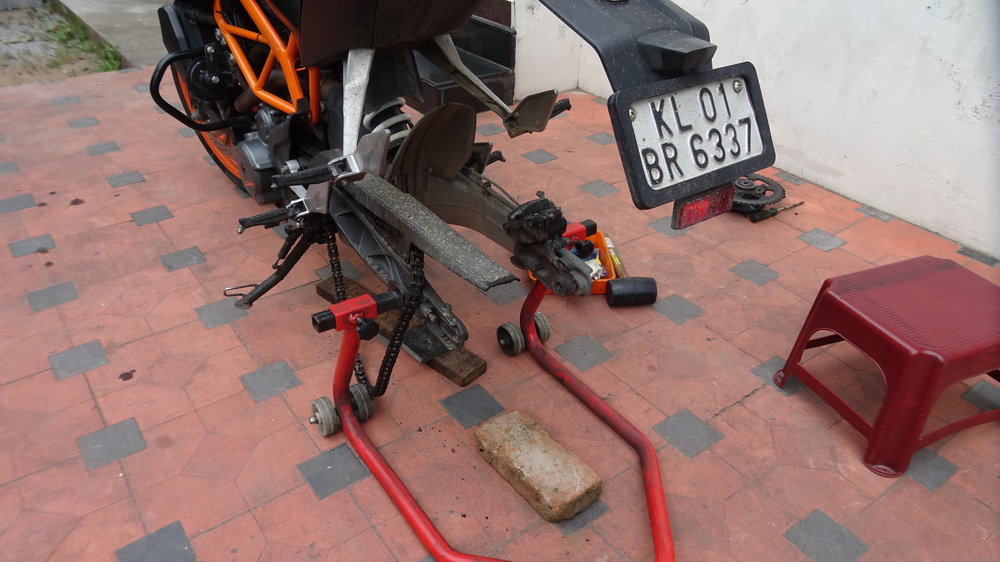
Brake pad change.

Remove wheel sensor first.

Then wheel.
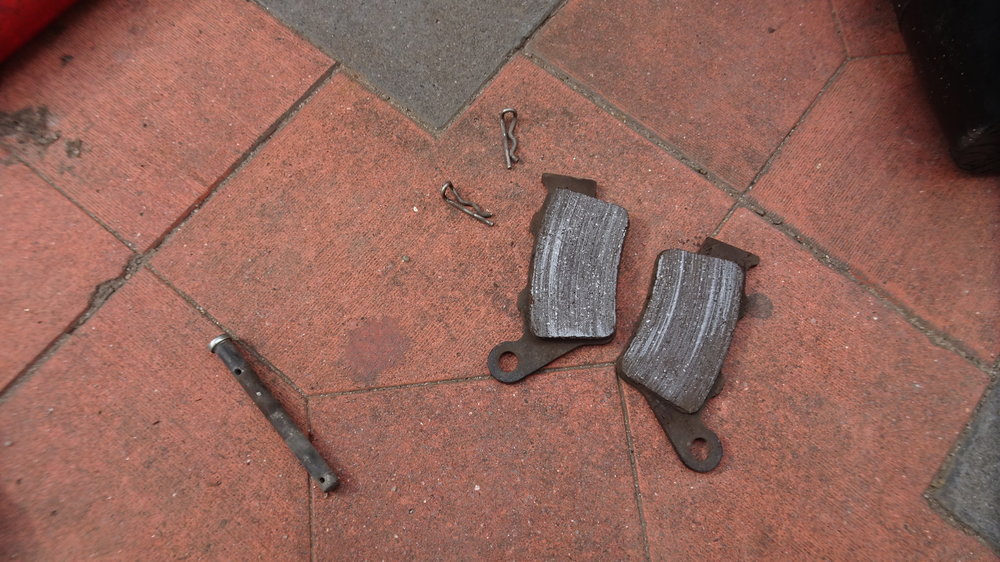
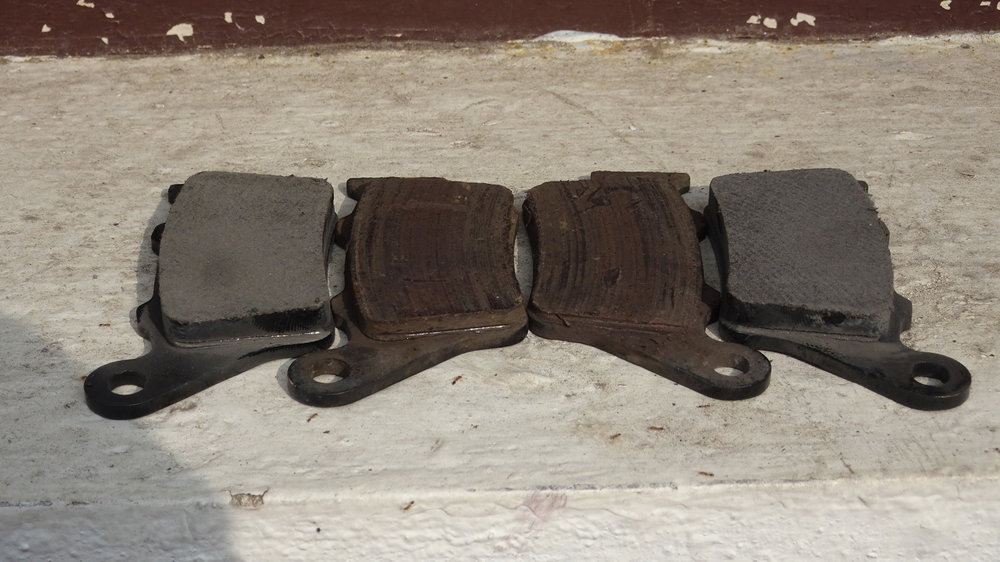
Worn pads

Removed.
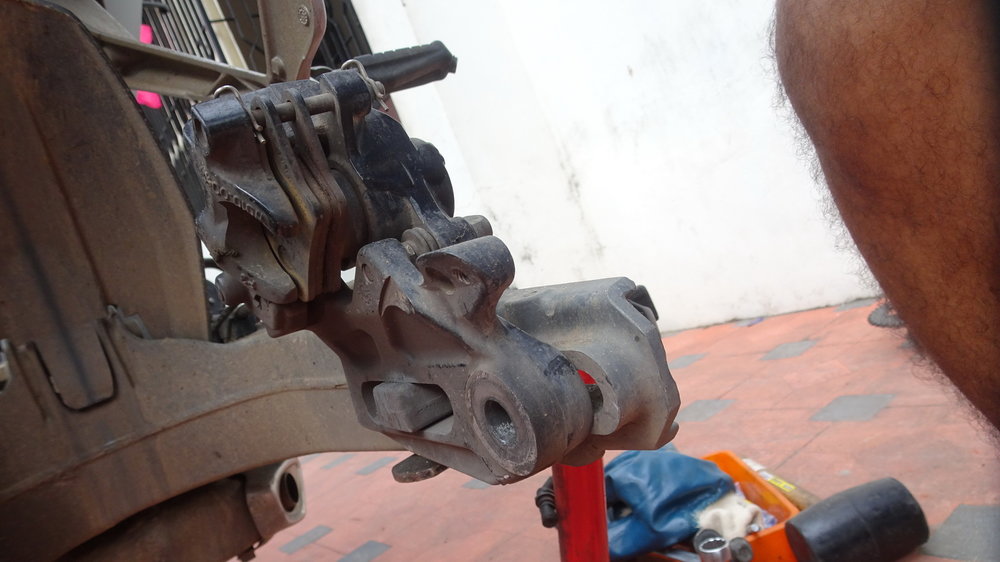
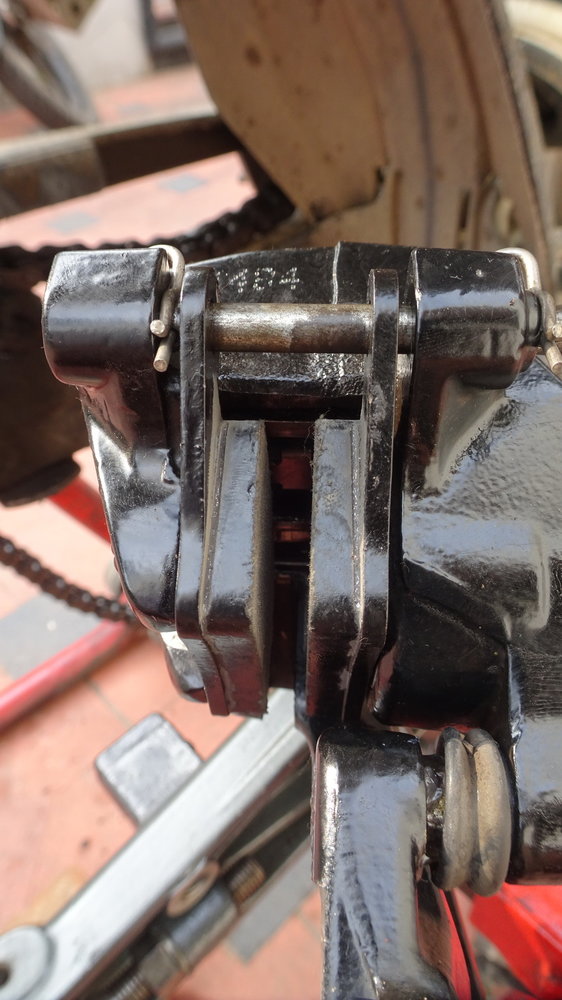
Piston all the way out.
Cleaned and pushed all the way in.
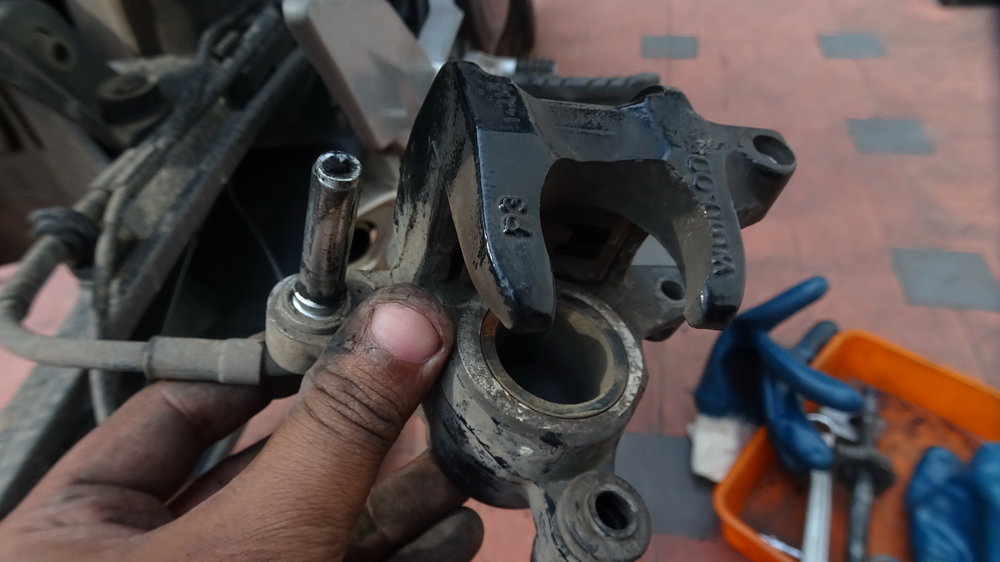
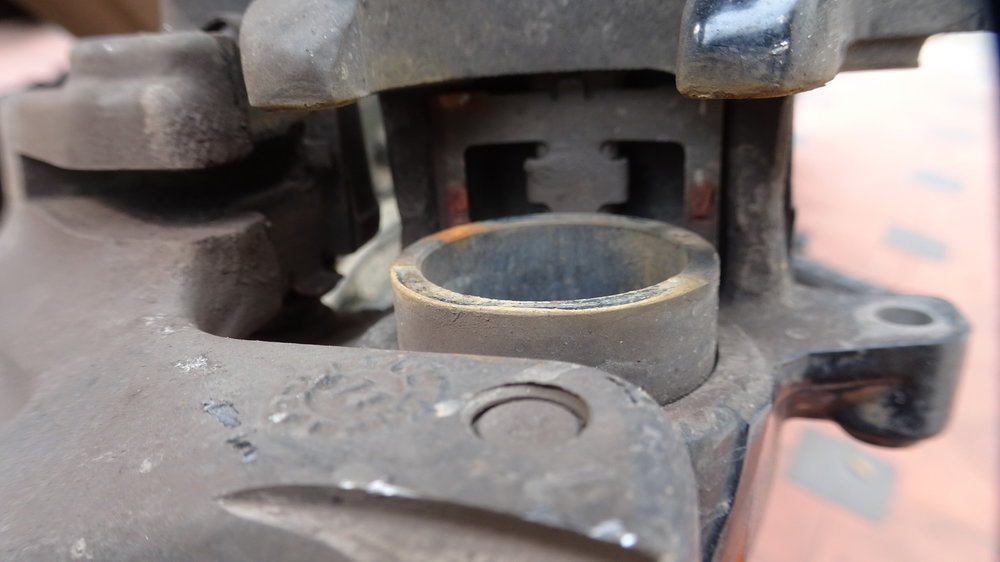
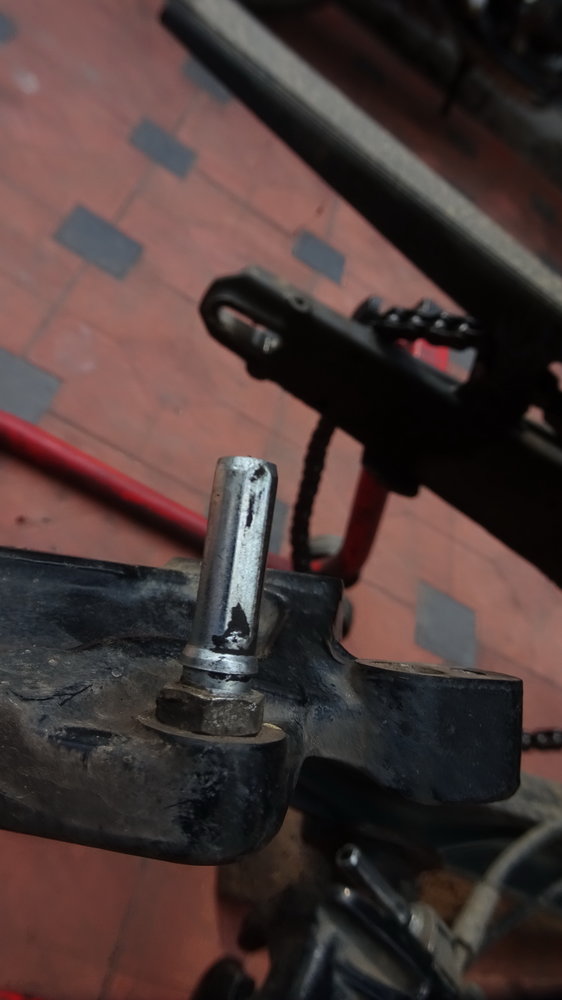
The base.
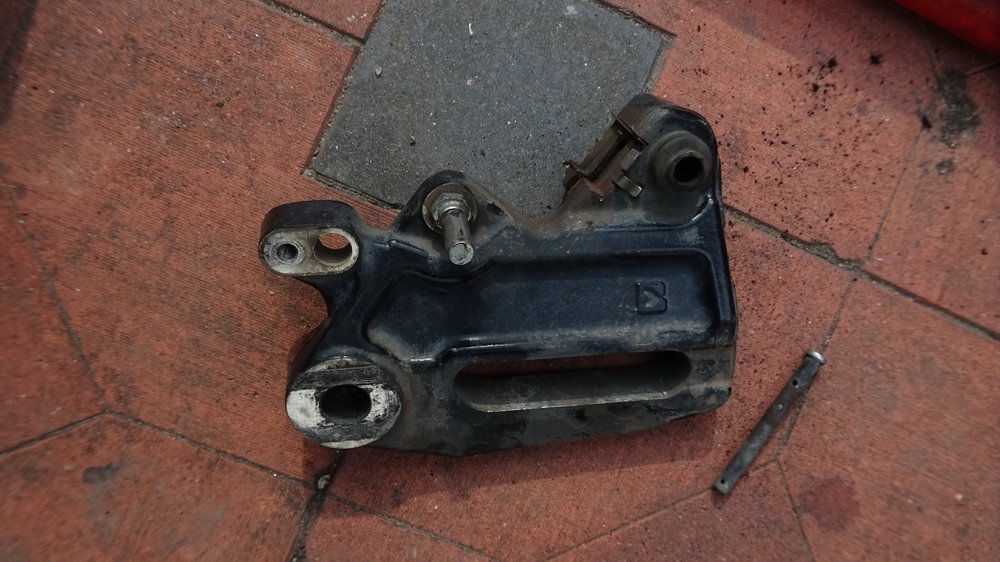
No lube at either points.

Cleaned with diesel.

Looks spanky new.
Customary old pad vs new pics.


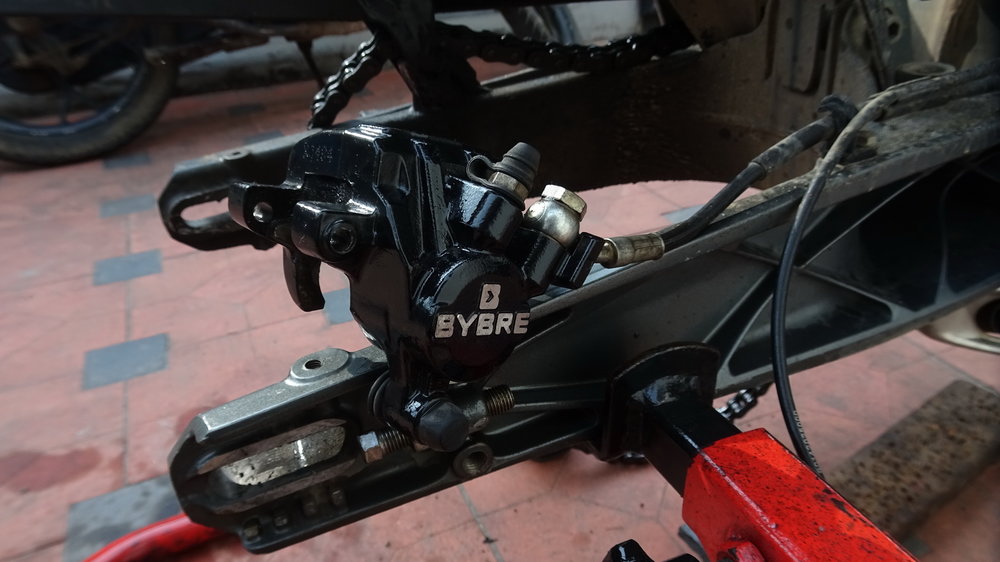
New pads installed.
All set.

Remove wheel sensor first.
Then wheel.
Worn pads
Removed.
Piston all the way out.
Cleaned and pushed all the way in.
The base.
No lube at either points.
Cleaned with diesel.
Looks spanky new.
Customary old pad vs new pics.
New pads installed.
All set.
![[lol]](https://www.theautomotiveindia.com/forums/images/smilies/Laugh.gif "Laugh [lol]")
![[frustration]](https://www.theautomotiveindia.com/forums/images/smilies/Frustration.gif "Frustration [frustration]")