Thread Starter
#1
Its been a long pending task of DIY repainting a ZEN, which belongs to one of my friend's colleague. I was waiting for the Palio work to finish so that I can take up this task.
Met the owner this morning, picked up the car & went to S.P.Road. What better way to start swiping a credit card than buying a few essential tools![[evil]](https://www.theautomotiveindia.com/forums/images/smilies/Evil.gif "Evil [evil]") finally bought a Chinese 40litres, 2.0HP Air compressor (with Copper Winding), a lengthy hose, 2 brass nipples (that's what they call it) & just reached home. I will post pics of the compressor here shortly.
finally bought a Chinese 40litres, 2.0HP Air compressor (with Copper Winding), a lengthy hose, 2 brass nipples (that's what they call it) & just reached home. I will post pics of the compressor here shortly.
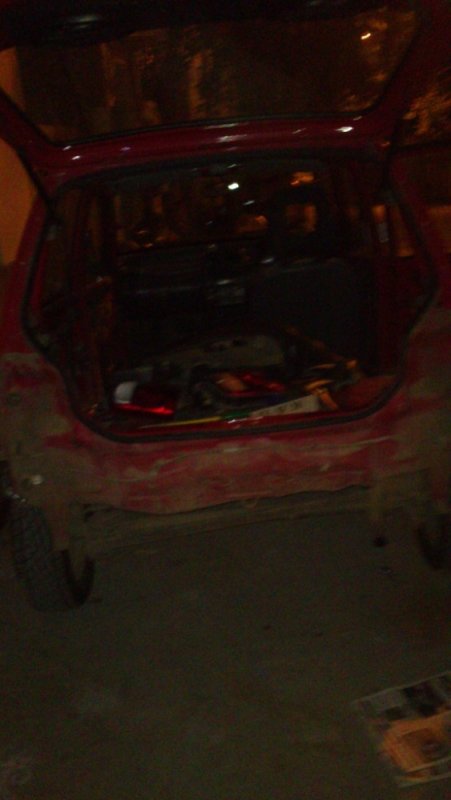
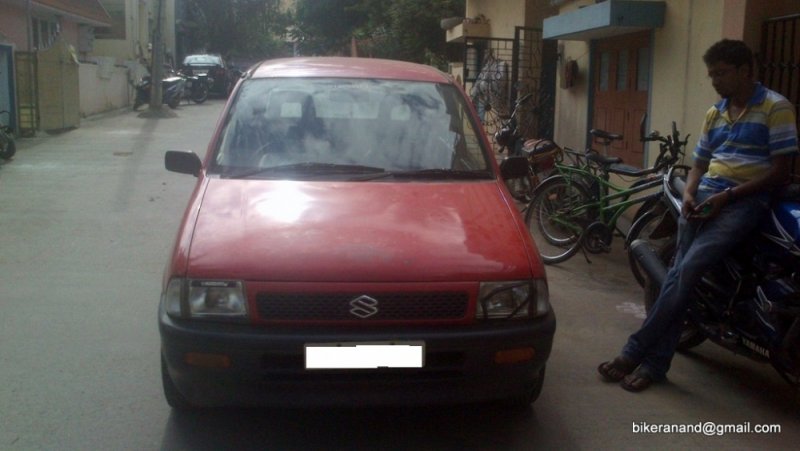
The Car:
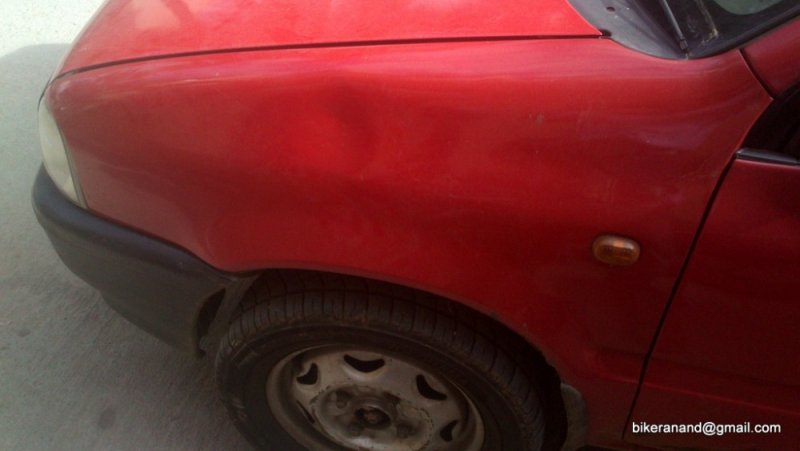
Zen LX - Red colour (not sure if it is called Brick Red/ Ferrari Red etc)
AC working, brand new tyres, mechanically sound.
Work to be carried out in the next few weeks:
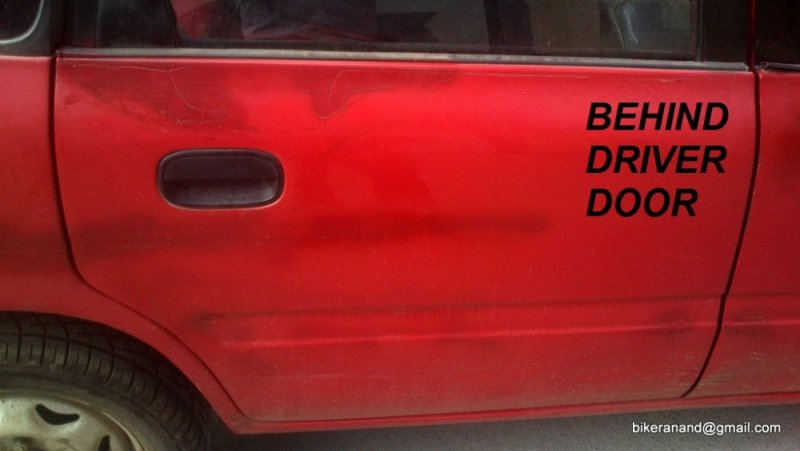
1. Tinker work - already started, should finish by tomorrow.
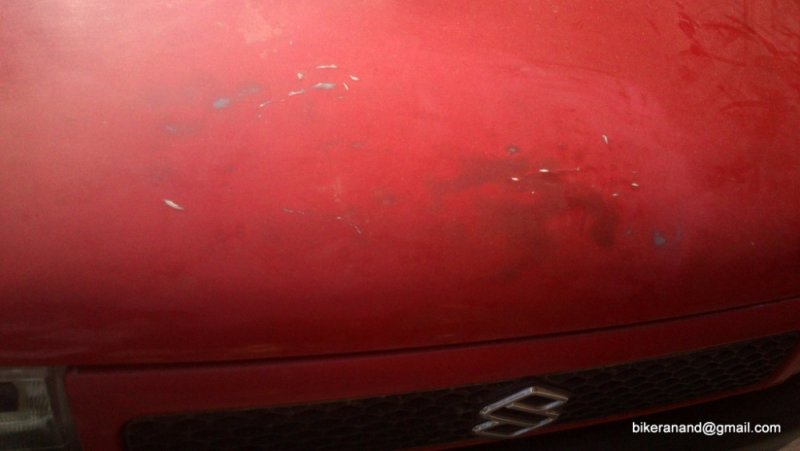
2. Full outer Body Re-painting (but no tinkering)
3. 3M anti rust coating for the inner side of the floor
4. Indicators are working properly
5. Steering rattles
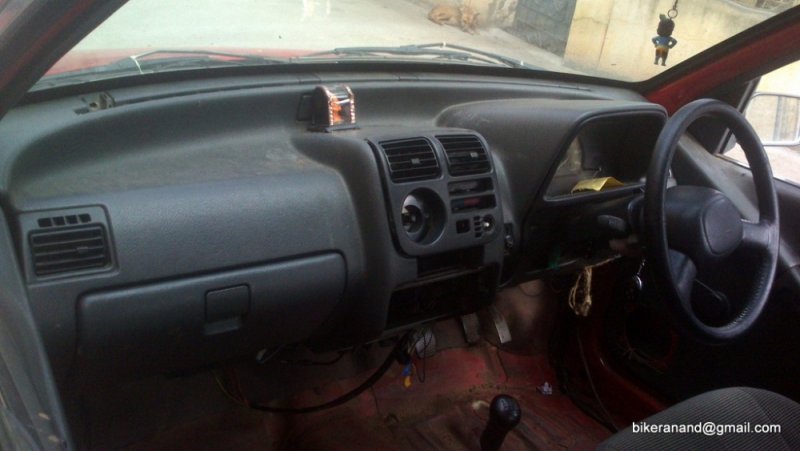
6. Dashboard not fixed properly
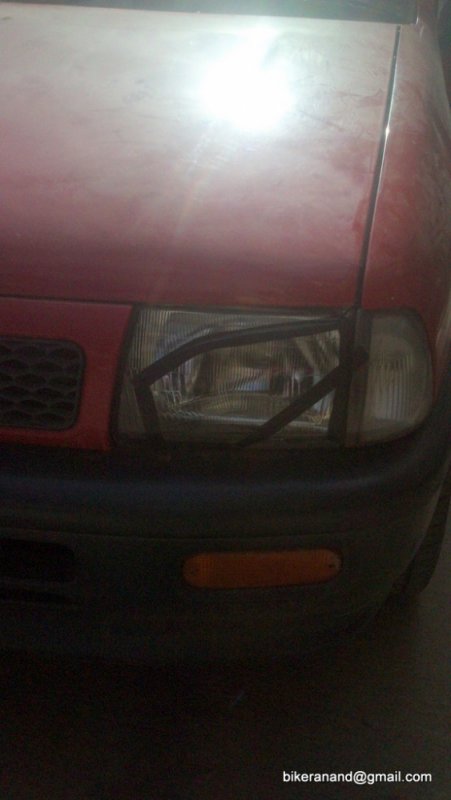
7. Headlamp to be replaced (left side)
8. Wheel rims to be painted
9. Top half of Door edges to be stickered in Black colour
10. Cabin lamp to be changed
11. Horn to be relocated, may be upgrade if required
12. Grill to be fixed properly
13. Brake oil bleeding, only of customer agrees.
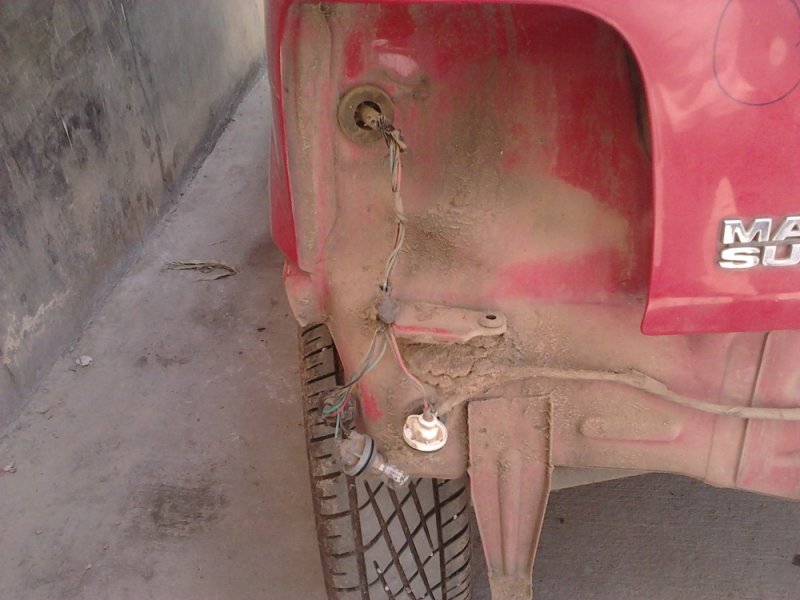
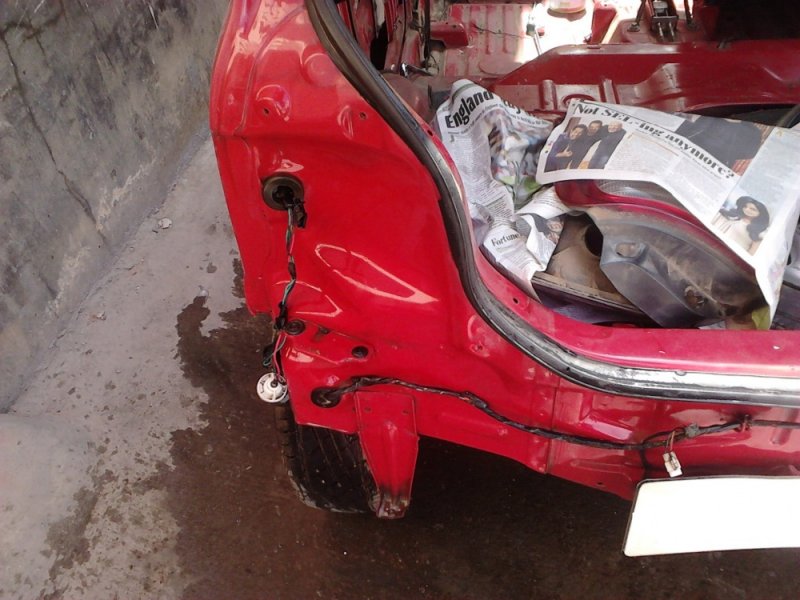
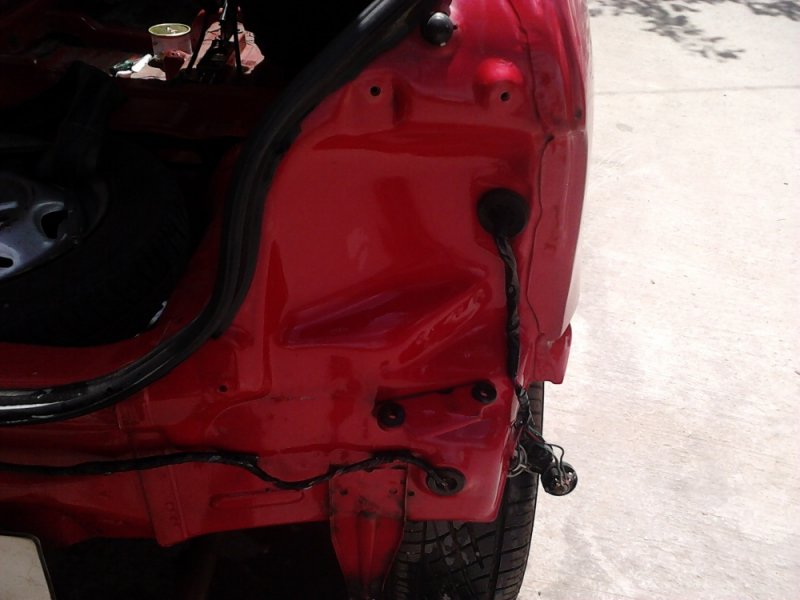
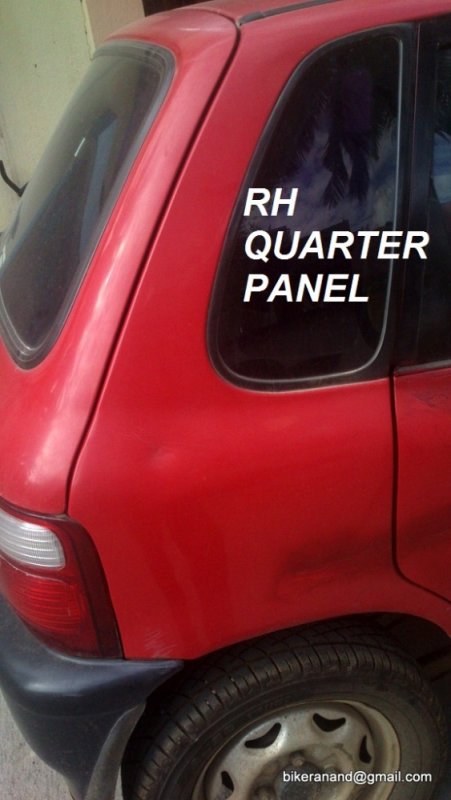
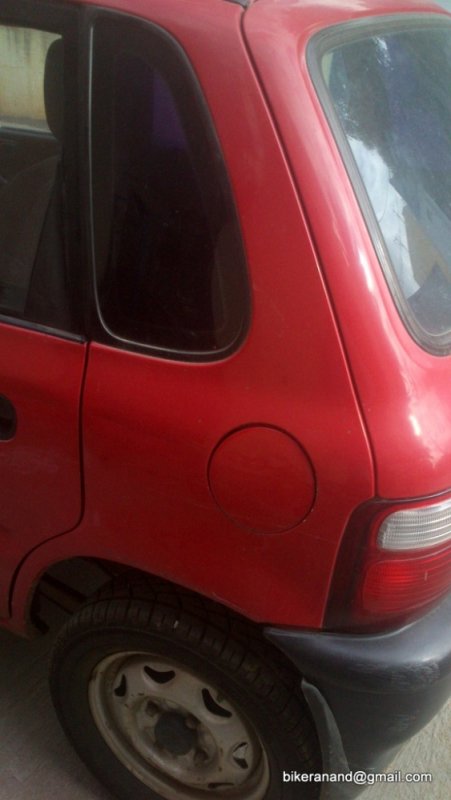
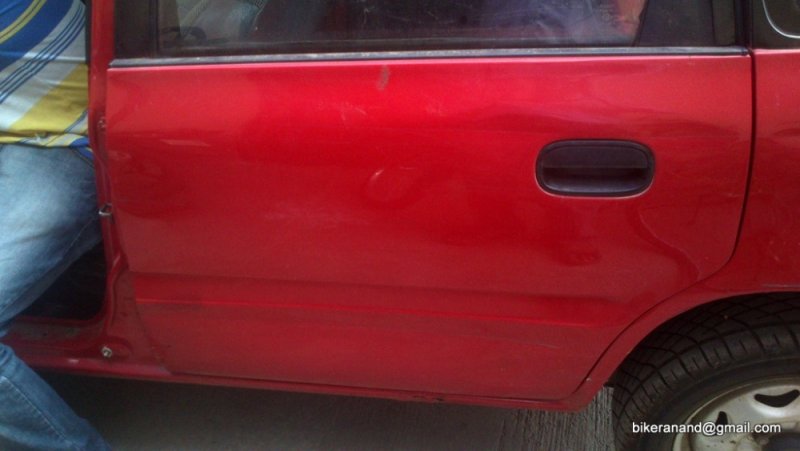
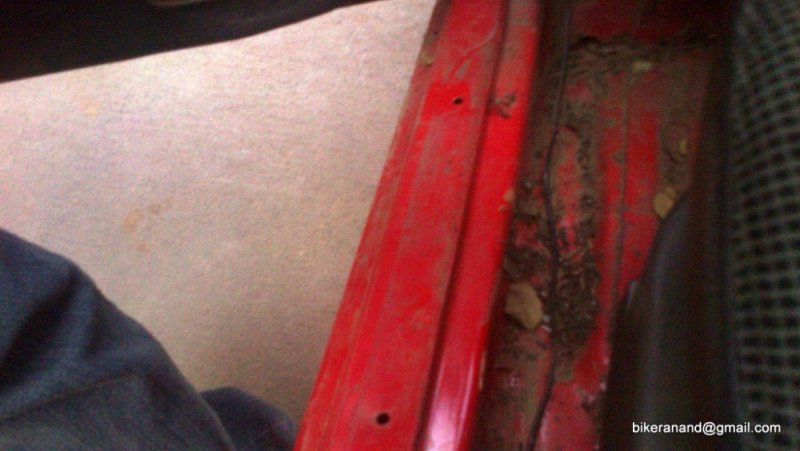
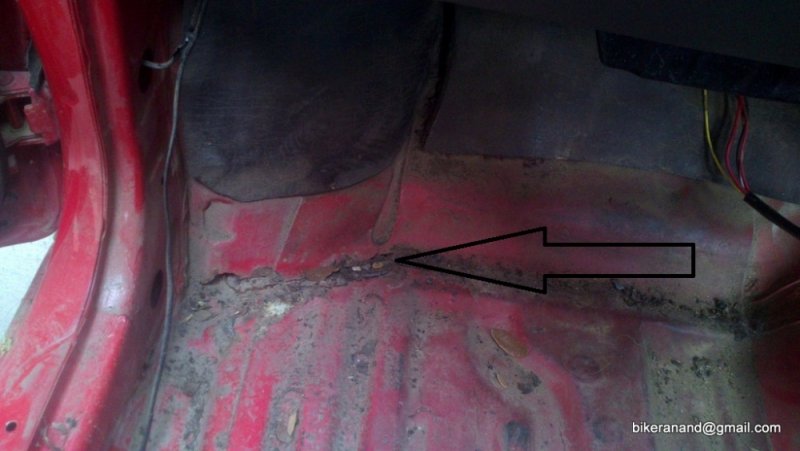
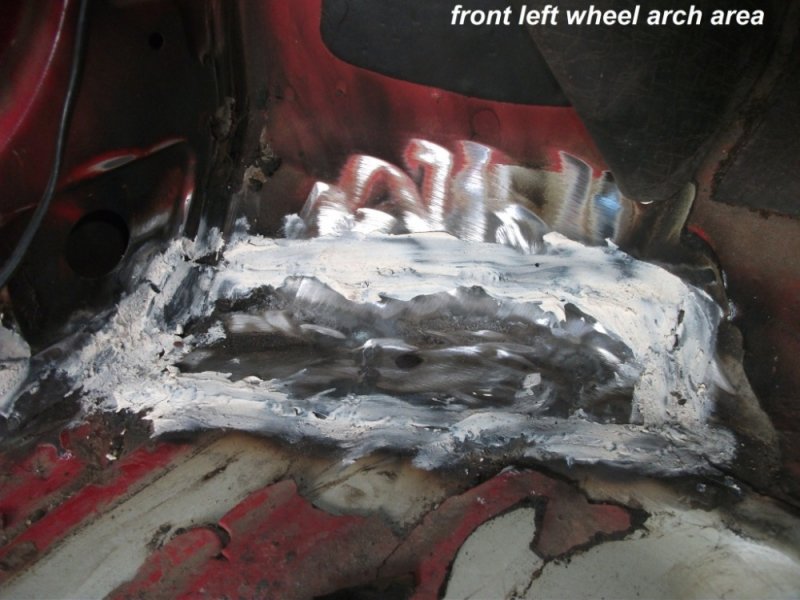
Just gave the car to the tinker now, he does a fantastic job, the challenge for him this time is a crack in the chassy, which needs a patch welding with a piece, running board damage & the 2 usual areas of rusting in most M800 & Zen's.
Except space (for painting car), I have everything else to start the work![[frustration]](https://www.theautomotiveindia.com/forums/images/smilies/Frustration.gif "Frustration [frustration]") . Let me first prepare the car fully before hunting for a place. Today I drove the car for about 35kms before reaching home finally.
. Let me first prepare the car fully before hunting for a place. Today I drove the car for about 35kms before reaching home finally.
Good things about the car:
Smooth engine, easy to drive in city, premium feel all around the cabin(compared to M800), nice gear shift quality.
Acceleration is good, post 60kmph the engine is butter smooth
Power to weight ratio is much better than M800
Cornering ability is surprising in this car
Things to crib about:
Suspension travel is very less, so every pot hole is bone cracker!
Feels good at speeds above 50kmph, below that the car is not that nice
Quality of build is not that great in some areas, as you might expect. Example the floor sheet metal, fender thickness etc are not really impressive.
Will post more shortly.
Met the owner this morning, picked up the car & went to S.P.Road. What better way to start swiping a credit card than buying a few essential tools
finally bought a Chinese 40litres, 2.0HP Air compressor (with Copper Winding), a lengthy hose, 2 brass nipples (that's what they call it) & just reached home. I will post pics of the compressor here shortly.The Car:
Zen LX - Red colour (not sure if it is called Brick Red/ Ferrari Red etc)
AC working, brand new tyres, mechanically sound.
Work to be carried out in the next few weeks:
1. Tinker work - already started, should finish by tomorrow.
2. Full outer Body Re-painting (but no tinkering)
3. 3M anti rust coating for the inner side of the floor
4. Indicators are working properly
5. Steering rattles
6. Dashboard not fixed properly
7. Headlamp to be replaced (left side)
8. Wheel rims to be painted
9. Top half of Door edges to be stickered in Black colour
10. Cabin lamp to be changed
11. Horn to be relocated, may be upgrade if required
12. Grill to be fixed properly
13. Brake oil bleeding, only of customer agrees.
Just gave the car to the tinker now, he does a fantastic job, the challenge for him this time is a crack in the chassy, which needs a patch welding with a piece, running board damage & the 2 usual areas of rusting in most M800 & Zen's.
Except space (for painting car), I have everything else to start the work
. Let me first prepare the car fully before hunting for a place. Today I drove the car for about 35kms before reaching home finally. Good things about the car:
Smooth engine, easy to drive in city, premium feel all around the cabin(compared to M800), nice gear shift quality.
Acceleration is good, post 60kmph the engine is butter smooth
Power to weight ratio is much better than M800
Cornering ability is surprising in this car
Things to crib about:
Suspension travel is very less, so every pot hole is bone cracker!
Feels good at speeds above 50kmph, below that the car is not that nice
Quality of build is not that great in some areas, as you might expect. Example the floor sheet metal, fender thickness etc are not really impressive.
Will post more shortly.
![[thumbsup]](https://www.theautomotiveindia.com/forums/images/smilies/Thumbs%20Up.png "Thumbs Up [thumbsup]") .
. ![[clap]](https://www.theautomotiveindia.com/forums/images/smilies/Clap.gif "Clap [clap]")


![[lol]](https://www.theautomotiveindia.com/forums/images/smilies/Laugh.gif "Laugh [lol]") You always Bang ! now For the colour here is the link check out this Link.
You always Bang ! now For the colour here is the link check out this Link.![[:)]](https://www.theautomotiveindia.com/forums/images/smilies/Smile.gif "Smile [:)]")


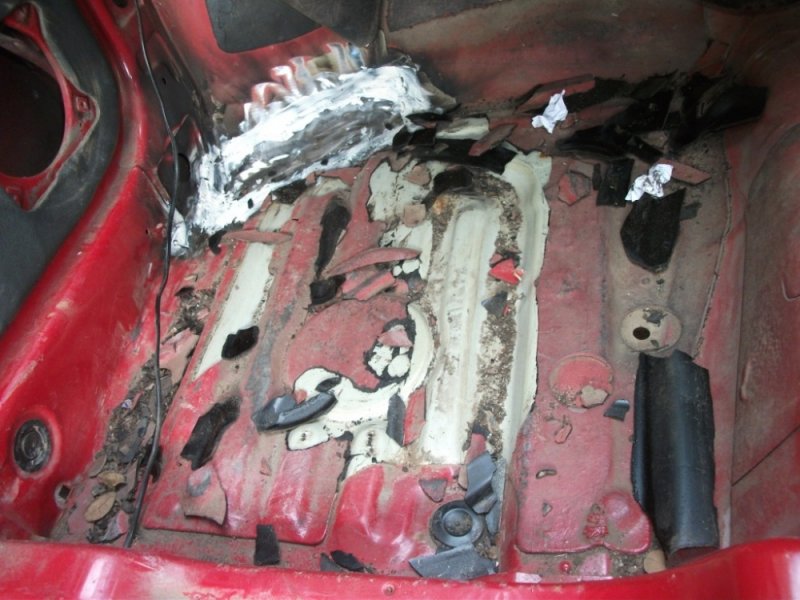
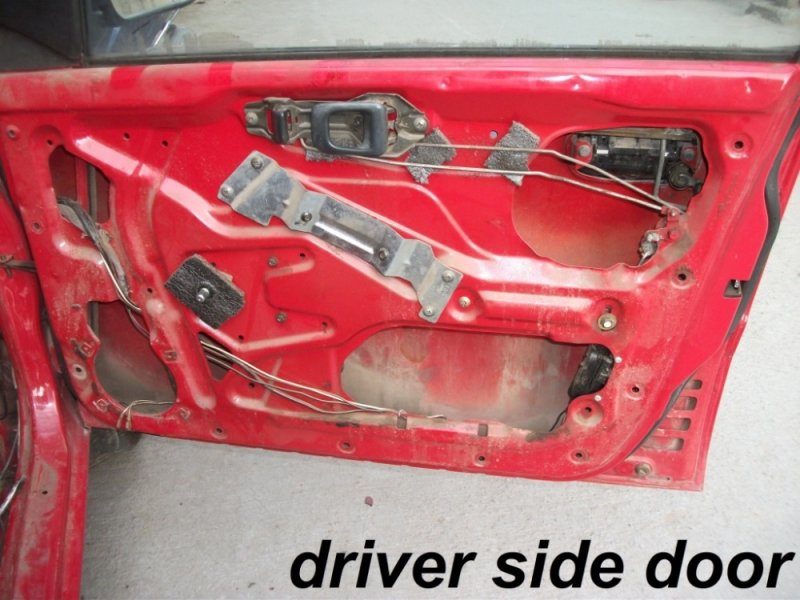
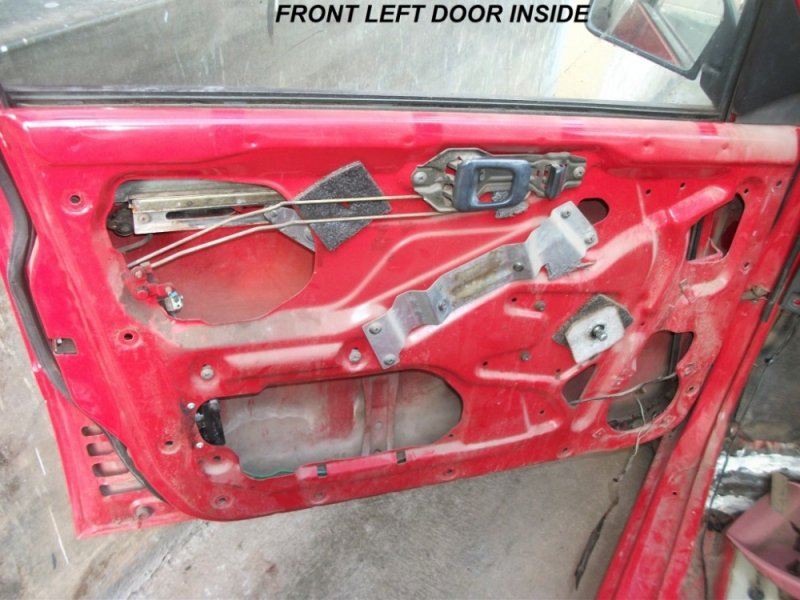
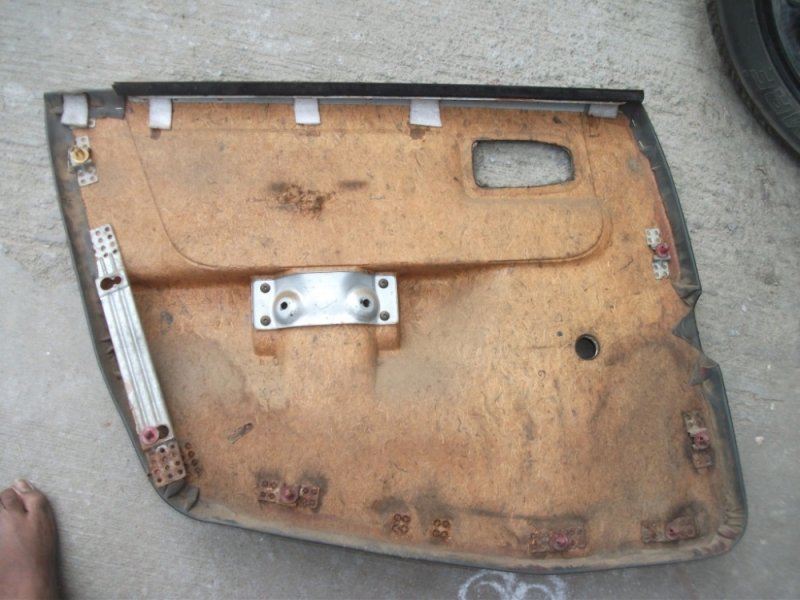
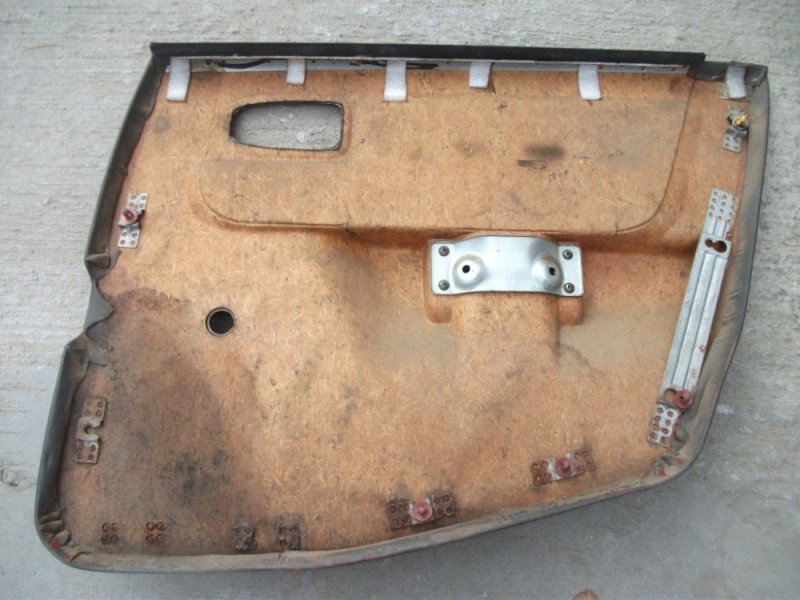
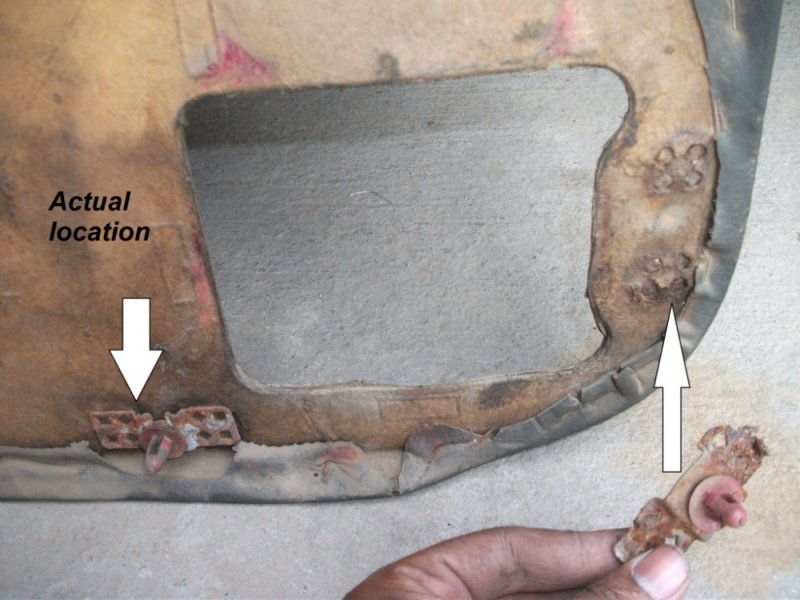
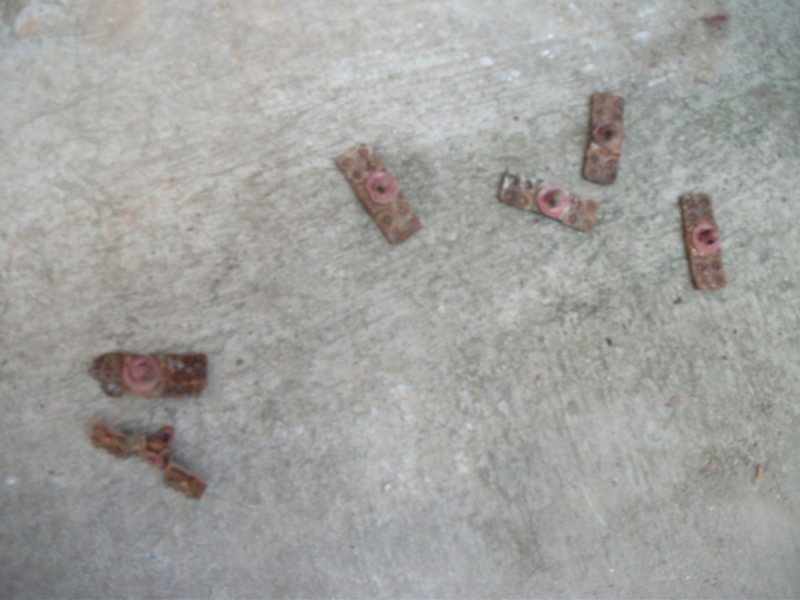
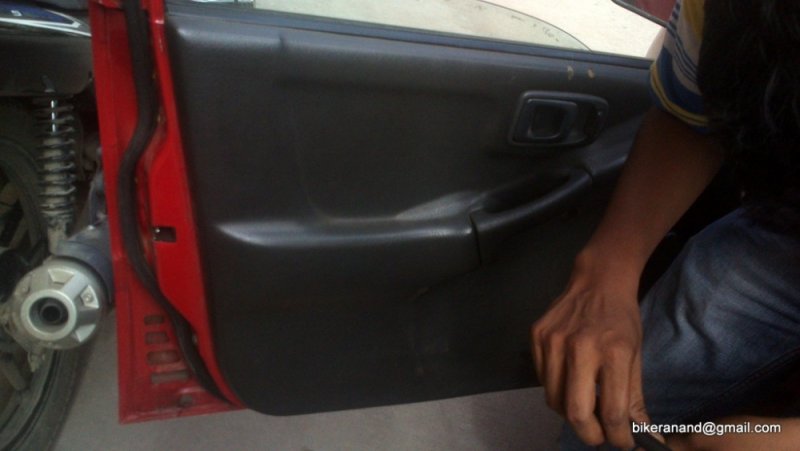
![[surprise]](https://www.theautomotiveindia.com/forums/images/smilies/Surprise.gif "Surprise [surprise]") . But the sad part is all the plastic sound deadening sheets were almost half cracked. So removed the rest for the front seat area using screw driver & hammer.
. But the sad part is all the plastic sound deadening sheets were almost half cracked. So removed the rest for the front seat area using screw driver & hammer.